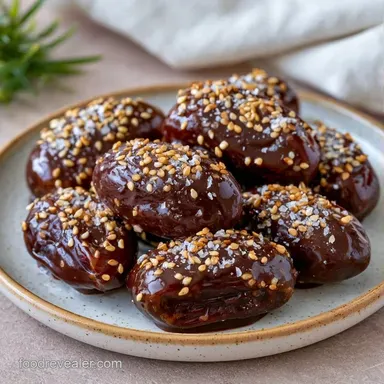
Chocolate Covered Dates with Peanut Butter
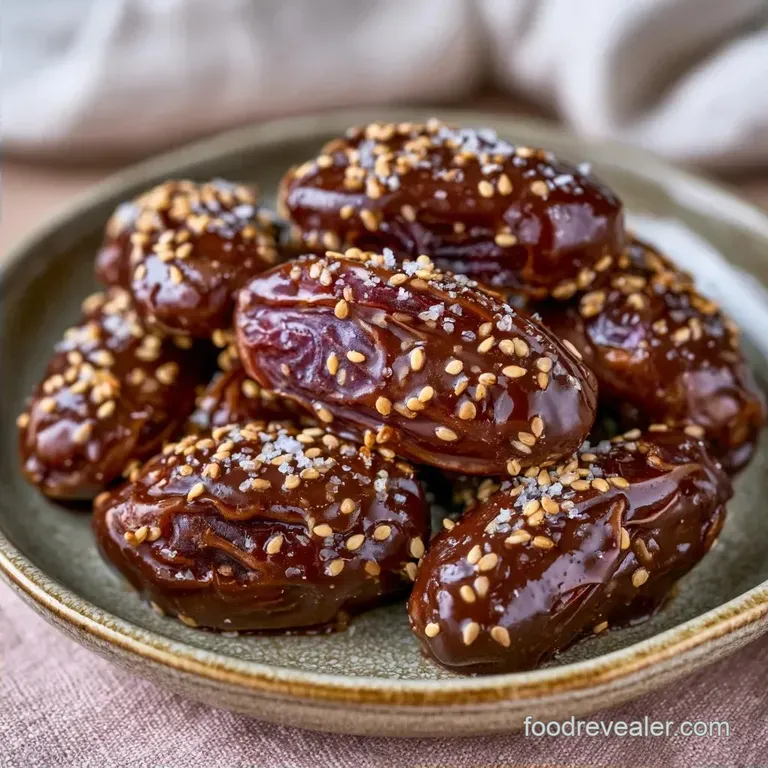
- Time: 20 min active + 30 min chilling
- Flavor/Texture Hook: Snappy dark chocolate shell with a chewy, rich center
- Perfect for: Holiday platters, baby showers, or fancy brunch snacks
Right then, let's talk about that specific sound a high end chocolate treat makes. You know the one, that sharp "click" when you bite through a thin shell into something soft and chewy. It's the difference between a home snack and something you'd buy at a boutique confectionery.
I used to think you needed a chemistry degree to get that snap, but it's actually about the moisture. Medjool dates are the real stars here. I've tried Deglet Noor, but they're too firm and lack that deep, honey like sweetness.
Medjool dates act like nature's caramel, providing a soft, heavy base that balances the bitterness of 70% cacao.
These Chocolate Covered Dates are a total win for anyone hosting a weekend brunch. They look expensive, they taste rich, but they don't require any actual cooking. You just assemble, dip, and chill. Trust me, your guests will think you spent hours on these.
Easy Chocolate Covered Dates for Parties
The reason some treats feel waxy is because they use compound chocolate. Here, we use real dark chocolate with a touch of coconut oil to keep it fluid but firm.
The Moisture Barrier: Pressing the date closed before dipping stops peanut butter from leaking. This prevents the chocolate from sliding off the skin.
Controlled Temperature: Letting the chocolate cool for 2 minutes before dipping creates a thicker layer. This ensures you get a solid coat rather than a thin, transparent glaze.
| Method | Time | Texture | Best For |
|---|---|---|---|
| Microwave (Fast) | 20 mins | Smooth & Snappy | Quick hosting |
| Double Boiler (Classic) | 40 mins | Glossier finish | Large batches |
Honestly, the microwave is the way to go if you're careful. Just don't walk away from the bowl or you'll end up with a grainy mess.
The Right Tools
No professional equipment is necessary, though a few basics will keep your workspace clean. A glass bowl is essential for the microwave to ensure more even heating compared to plastic.
Line your tray with parchment paper, as using a bare plate often leads to the chocolate sticking and tearing. For dipping, a fork is the most efficient tool for lifting the dates and shaking off the excess in one quick movement.
What You'll Need
I'm a big fan of the 70% cacao dark chocolate. It cuts through the sweetness of the dates so the dessert doesn't feel cloying.
| Ingredient | What It Does | Best Swap |
|---|---|---|
| Medjool Dates | Chewy, sweet base | Deglet Noor (Note: drier, less sweet) |
| Peanut Butter | Rich, salty core | Almond butter (Note: milder flavor) |
| Dark Chocolate | Snappy outer shell | Semi sweet chocolate (Note: much sweeter) |
| Coconut Oil | Thins the chocolate | Cocoa butter (Note: harder snap) |
- 10 large Medjool dates, pitted (approx. 225g) Why this? Fleshy texture and honey flavor
- 2 tbsp (32g) creamy peanut butter Why this? Classic salt sweet contrast
- 6 oz (170g) dark chocolate (70% cacao), finely chopped Why this? Deep flavor, less sugar
- 1 tbsp (14g) coconut oil, melted Why this? Ensures a silky melt
- 1/2 tsp (3g) flaky sea salt Why this? Brightens the chocolate
- 1 tsp (2g) toasted sesame seeds Why this? Adds a nutty crunch
Basic Recipe Stats
Keep these numbers in mind to ensure the chocolate sets correctly.
- Prep time: 20 minutes
- Cook time: 2 minutes
- Total time: 52 minutes
- Yield: 10 dates
For a solid set, the 30 minute chill is non negotiable. If you skip it, the chocolate will smudge the moment you touch it.
The Assembly Process
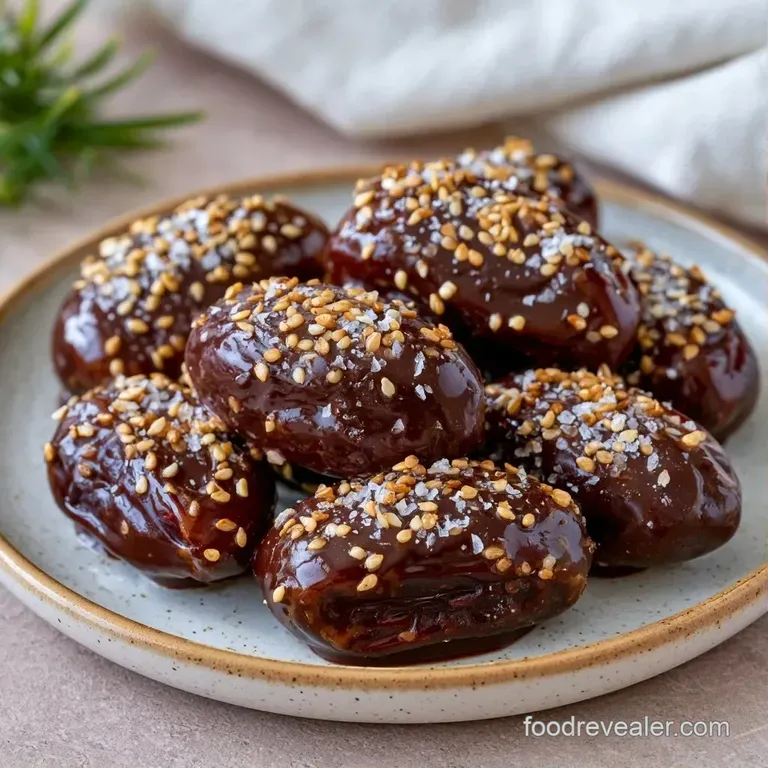
Let's crack on. This is all about the dip and the set.
- Use a small knife to make a longitudinal slit in each Medjool date and remove the pit if not already pitted.
- Using a small spoon or piping bag, fill each date with peanut butter. Note: Don't overfill or it will squeeze out during dipping
- Gently press the edges of the date closed so the filling is secure and won't leak into the chocolate.
- Place chopped chocolate and coconut oil in a microwave safe glass bowl.
- Microwave in 30 second bursts, stirring between each interval, until the chocolate is smooth and glossy.
- Let the chocolate sit for 2 minutes to cool slightly to ensure a thicker coating.
- Using a fork, dip each stuffed date into the chocolate, rotating it to cover all sides.
- Lift the date and gently tap the fork on the edge of the bowl to remove excess chocolate.
- Place the dates on a baking sheet lined with parchment paper.
- Garnish with flaky sea salt and toasted sesame seeds.
- Chill in the refrigerator for 30 minutes until the chocolate shell is firm.
Chef's Note: If you're making these for a party, you can stuff the dates a day early. Just keep them in a sealed container. Only do the chocolate dip on the day of the event for the best shine.
Solving Coating Issues
Dealing with chocolate can be tricky. If a single drop of water hits your melt, it can seize. This happens when the sugar and cocoa solids clump together, leaving you with a gritty paste.
Another common issue is the "leak." If you don't press the dates closed firmly, the peanut butter will bubble up into the chocolate. This creates a messy look and can make the chocolate shell unstable.
Fixing Grainy Chocolate
If the chocolate looks clumped, try whisking in a tiny bit more melted coconut oil. If it's truly seized, you'll have to start over.
Stopping Leaking Fillings
Make sure the peanut butter is flush with the date skin. Press the edges with your thumb to create a seal.
Solving Soft Shells
This usually means the fridge wasn't cold enough or the coconut oil ratio was too high. Give them another 15 minutes of chilling.
| Problem | Fix |
|---|---|
| Grainy texture | Add 1 tsp melted coconut oil and whisk |
| Leaking filling | Press date edges tighter before dipping |
| Chocolate won't set | Chill for an extra 15-30 minutes |
Storage and Waste Tips
These Chocolate Covered Dates stay fresh for quite a while. Store them in a sealed glass jar in the cooler for about 5 to 7 days. If you can't finish them, they freeze surprisingly well. Put them in a freezer safe bag for up to 2 months.
When you're ready to eat frozen ones, just let them sit at room temperature for 10 minutes. Don't microwave them to thaw, or the chocolate will melt and lose that snap.
As for waste, don't throw away the date pits if you're feeling adventurous. Some people dry them and roast them to make a date pit coffee substitute. If that's too far, just compost them. Any leftover chocolate in the bowl can be stirred in with some nuts to make a quick bark.
Creative Flavor Twists
If you want to move beyond peanut butter, there are plenty of options. For a lighter taste, try a cashew butter or a touch of almond paste. If you're after something more specific, check out my peanut butter dates for a faster version.
For those looking for "Dubai Chocolate Dates," swap the peanut butter for a mix of pistachio cream and toasted kunafa pastry. It adds a crunch that's completely different from the chewy date.
For a nut free version, use a dollop of cream cheese or a bit of apricot jam. If you want "Adult Style" treats, add a tiny pinch of cayenne pepper to the chocolate for a spicy kick. These Dates Covered in Chocolate are incredibly flexible.
You can also use white chocolate for a sweeter, creamier vibe, though dark chocolate remains the gold standard. Just remember that white chocolate melts faster, so you'll need to be stricter with the 30 minute chill.
Serving Your Guests
To plate these, avoid piling them into a pyramid, as the weight may crush the bottom layer. Instead, arrange them across a white ceramic platter or a slate board; the dark chocolate creates a sophisticated contrast against a light surface.
Serve these alongside a glass of chilled prosecco or a bold espresso. The acidity helps balance the richness of the chocolate and peanut butter. If you are preparing a full dessert array, they pair wonderfully with a lighter treat like a classic Italian Tiramisu.
For guests, add a pinch of salt and a scattering of sesame seeds across the platter for a polished, professional appearance. Since they're Covered in Chocolate, they are the perfect bite sized treat that requires no utensils.
Finishing Touches
For a more festive presentation, drizzle some melted white chocolate over the top. This takes just 2 minutes but gives the dish a bakery quality finish.
Choice of Platter
Choose a wooden board for a rustic brunch feel, or a silver tray for more formal occasions.
Temperature Tip
Remove them from the refrigerator 5 minutes before serving. This allows the peanut butter and date flavors to intensify without compromising the chocolate shell.
Crafting Homemade Chocolate Covered Dates is a simple way to bring a touch of luxury to your entertaining. They are rich, indulgent, and far more affordable than boutique brands. Once you perfect the dipping and setting technique, they'll be a permanent fixture at your parties. Enjoy the snap!
Recipe FAQs
Are chocolate covered dates a healthy snack?
They provide a good balance of fiber and antioxidants. Keep portions small since they are naturally calorie dense.
How do I make these dates?
Stuff pitted Medjool dates with peanut butter and press the edges closed. Dip them into melted dark chocolate mixed with coconut oil, then chill until firm.
Should the treats be refrigerated?
Chill the dates for 30 minutes in the refrigerator. This ensures the chocolate shell is firm and doesn't smudge when handled.
Which chocolate is best for coating?
Dark chocolate with 70% cacao balances the sweet dates perfectly. The added coconut oil ensures a smooth, glossy finish.
Is it true that a double boiler is required for the chocolate?
False. A microwave safe glass bowl works well when heating in short intervals to avoid scorching.
Can I use other fillings?
Try almond or cashew butter for a different flavor profile. If you enjoy assembling these bites, see how we layer textures in our fruit party skewers.
Chocolate Covered Dates