Taco Stuffed Shells: Creamy Ground Beef Filling
- Time: Active 15 minutes, Passive 20 minutes, Total 35 minutes
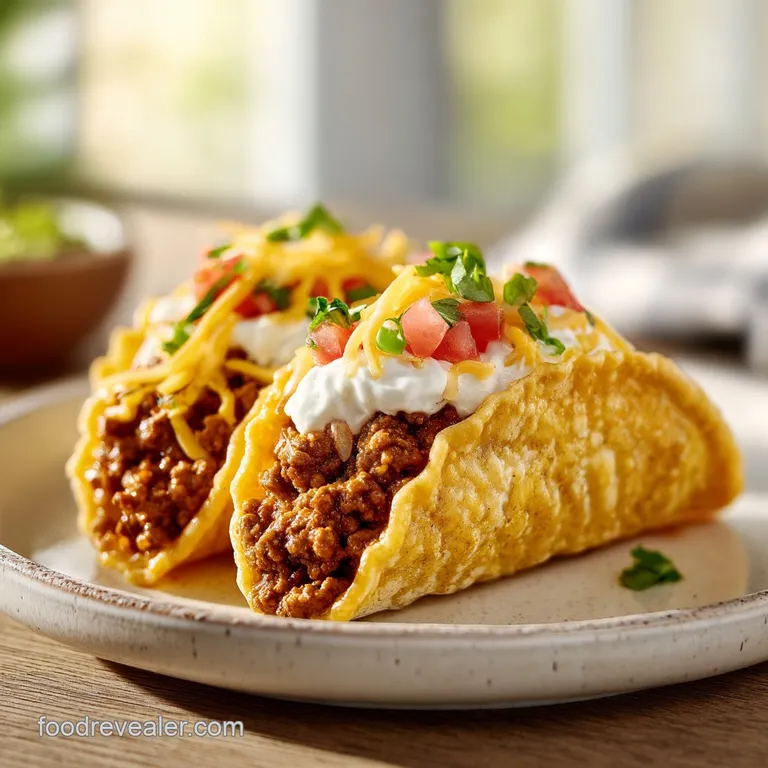
- Flavor/Texture Hook: Savory beef and tangy cream cheese encased in tender, oven toasted pasta
- Perfect for: Busy weeknight dinners or budget-friendly family gatherings
- Mastering Easy Taco Stuffed Shells
- Vital Recipe Technical Details
- Smart Ingredients and Budget Swaps
- Kitchen Tools for Better Results
- Simple Steps to Taco Perfection
- How to Fix Common Mistakes
- Scaling for Couples or Crowds
- Debunking Traditional Cooking Myths
- Storing and Reviving Your Leftovers
- Perfect Toppings and Side Pairings
- Critical Level of Sodium
- Recipe FAQs
- 📝 Recipe Card
Mastering Easy Taco Stuffed Shells
The distinct hiss of 1.5 lbs lean ground beef hitting a preheated skillet is the first sign that a great dinner is underway. I remember the first time I tried making Taco Stuffed Shells for a Friday night get together.
I had invited a few friends over, and the kitchen was a chaotic mess of flour and half opened spice jars. I wanted something that felt substantial but didn't require me to stand over a stove for three hours while everyone else was laughing in the living room.
As the aroma of browning meat and toasted spices filled the air, I realized the magic of this dish isn't just in the flavor it's in the assembly. There is something deeply satisfying about piping a warm, creamy beef mixture into those oversized pasta cups.
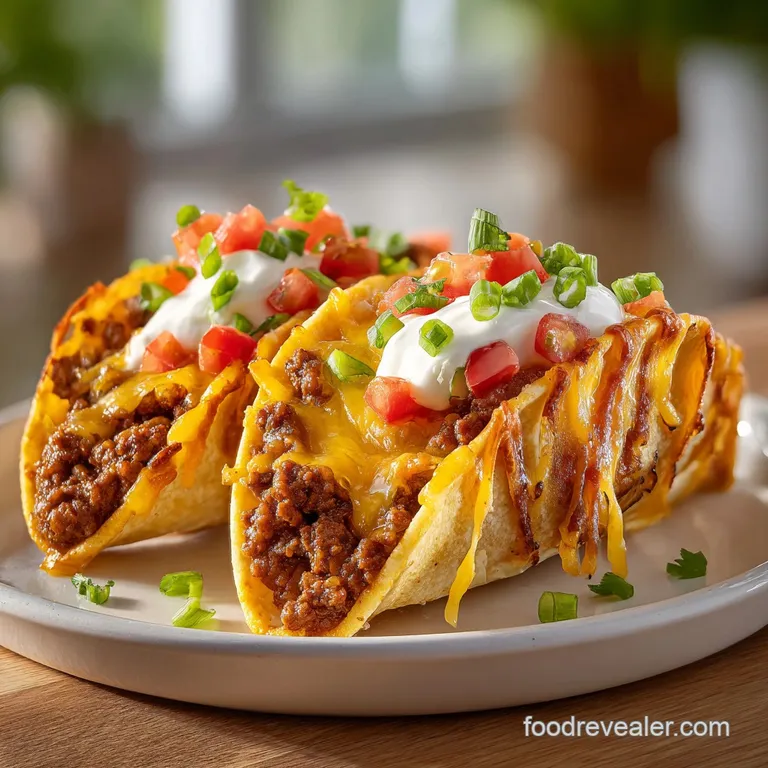
When that first tray came out of the oven, the cheese bubbling and the edges of the shells just beginning to turn golden and crisp, I knew I’d found a permanent resident for my recipe rotation.
It’s the ultimate comfort food that bridges the gap between a classic Italian casserole and a vibrant Mexican street taco.
Vital Recipe Technical Details
- Fat Emulsification: The cream cheese acts as a stabilizer, binding the rendered beef fat and taco seasoning into a cohesive, velvety paste that won't leak oil.
- Starch Retrogradation: Cooling the par boiled shells slightly before stuffing helps the pasta regain some structural integrity, preventing them from tearing under the weight of the beef.
- Moisture Barrier: Coating the bottom of the pan with taco sauce creates a steam rich environment that softens the pasta base while the exposed tops stay firm.
- Protein Denaturation: Baking the beef a second time inside the shells allows the flavors to meld as the proteins further tighten and trap the spiced juices.
| Thickness of Filling | Internal Temp | Rest Time | Visual Cue |
|---|---|---|---|
| 1/2 inch | 160°F | 3 mins | Steam rises from center |
| 1 inch | 160°F | 5 mins | Cheese is bubbling and set |
| 1.5 inches | 165°F | 8 mins | Edges are lightly browned |
Smart Ingredients and Budget Swaps
Getting the most out of your grocery budget means knowing where to spend and where to save. For this recipe, the 12 oz jumbo pasta shells are the non negotiable vessel. They provide the necessary architecture.
I always opt for 1.5 lbs lean ground beef (90/10 ratio) because it yields more actual meat after browning, meaning you aren't paying for fat that just gets drained down the sink.
The 8 oz cream cheese is the secret to that "melt in-your mouth" texture, while the 2 cups of shredded sharp cheddar provide the punchy finish. If you’re looking to stretch your dollar even further, consider how you might adapt this using a Vegetable Tortilla Roll recipe logic, where high volume veggies can bulk up a smaller amount of meat without losing the satisfying mouthfeel.
| Ingredient | Science Role | Pro Secret |
|---|---|---|
| Jumbo Shells | Structural base | Boil in heavily salted water to season the dough |
| Cream Cheese | Binding agent | Ensure it is completely softened to avoid lumps |
| Taco Sauce | Hydration source | Pour over the edges to keep pasta from becoming brittle |
| Sharp Cheddar | Flavor/Fat | Grate it yourself for a smoother melt than pre shredded |
Using 1 tbsp olive oil to start the beef helps jumpstart the Maillard reaction, especially if you're using a very lean cut of meat. The 1 cup of thick and chunky salsa adds both acidity and texture, breaking up the richness of the cheese.
I’ve found that using a specific taco seasoning packet is the fastest way to get a consistent flavor, but you can always mix your own cumin, chili powder, and garlic salt if you have a well stocked pantry.
| Original Ingredient | Substitute | Why It Works |
|---|---|---|
| Ground Beef (1.5 lbs) | Ground Turkey | Leaner option; absorbs spices well but needs extra oil |
| Sharp Cheddar (2 cups) | Monterey Jack | Lower melting point results in a gooier, silkier finish |
| Taco Sauce (1 cup) | Enchilada Sauce | Adds a deeper, smoky chili flavor compared to taco sauce |
| Cream Cheese (8 oz) | Ricotta Cheese | Lighter texture; add a pinch of salt to mimic tanginess |
Kitchen Tools for Better Results
You don't need a professional kitchen to pull this off, but a few specific tools make the "kitchen chaos" much more manageable. A large, heavy bottomed skillet (like a 12 inch cast iron or stainless steel pan) is essential for browning the 1.5 lbs of beef evenly without steaming it.
For the shells, a large stockpot is required to give them enough room to swim so they don't stick together and tear.
A standard 9x13 inch baking dish is the perfect size for 12 oz of jumbo shells. To get the filling inside without making a massive mess, I often use a simple cookie scoop or even a gallon sized freezer bag with the corner snipped off. This mimics the precision of the technique used in my and Mushroom Stuffed recipe, ensuring every shell gets an equal share of the zesty beef.
Chef Tip: Freeze your block of cheddar for 10 minutes before grating. It makes the cheese firmer and prevents it from clumping in the grater, resulting in long, beautiful strands that melt evenly.
Simple Steps to Taco Perfection
- Boil the shells. Cook 12 oz jumbo pasta shells in salted water for 2 minutes less than the package directions. Note: This "par boiling" ensures they stay firm enough to stuff without falling apart.
- Sauté the beef. Heat 1 tbsp olive oil in a large skillet and brown 1.5 lbs ground beef until no pink remains and the meat is sizzling.
- Drain the fat. Remove the skillet from heat and tilt it to one side, spooning out the excess grease. Note: Removing the fat prevents the final casserole from being oily.
- Season the meat. Add 1 packet taco seasoning and 1/4 cup water to the beef. Simmer for 2 minutes until the liquid has thickened into a glossy glaze.
- Cream the filling. Stir in 8 oz softened cream cheese and 1 cup thick and chunky salsa into the beef mixture. Mix until the filling is uniform and velvety.
- Prep the dish. Pour 1/2 cup taco sauce into the bottom of a 9x13 baking dish and spread it evenly. Note: This prevents the shells from sticking to the glass.
- Stuff the pasta. Using a spoon or scoop, fill each par boiled shell with about 2 tablespoons of the beef mixture.
- Arrange and top. Place the stuffed shells in the dish and drizzle the remaining 1/2 cup taco sauce over the top.
- Add the cheese. Sprinkle 2 cups shredded sharp cheddar over the shells.
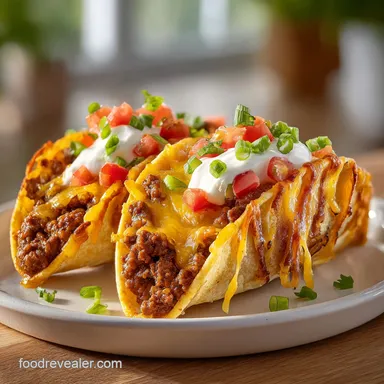
- Bake the casserole. Bake at 350°F (180°C) for 20 minutes until the cheese is bubbly and the shell edges slightly shatter when pressed.
How to Fix Common Mistakes
One of the most frequent issues with Taco Stuffed Shells is the "soggy bottom" syndrome. This usually happens when the salsa or taco sauce has too much water content, or the beef wasn't drained properly. Another common headache is shells that stick together while boiling.
Always keep the water at a rolling boil and stir gently but frequently during the first three minutes of cooking to keep them separated.
Preventing Mushy Pasta Shells
If your shells turn out too soft, you likely overcooked them in the water. Remember, they continue to cook in the oven as they absorb the moisture from the salsa and sauce. To fix this next time, drain the pasta the second it reaches a flexible but very firm state almost unpleasantly chewy.
Shocking them in cold water immediately after draining stops the cooking process instantly.
| Problem | Root Cause | Solution |
|---|---|---|
| Filling is runny | Salsa was too watery | Strain the salsa through a mesh sieve before adding |
| Shells are dry | Not enough sauce | Add 1/4 cup of beef broth to the bottom of the pan |
| Cheese is oily | Pre shredded cheese | Use block cheese; the potato starch in bags causes oil separation |
Common Mistakes Checklist
- ✓ Drain the ground beef thoroughly to prevent a greasy base.
- ✓ Under cook the jumbo shells by 2-3 minutes so they hold their shape.
- ✓ Soften the cream cheese completely to ensure a smooth, lump free filling.
- ✓ Apply the taco sauce to the bottom of the dish before adding shells.
- ✓ Let the dish rest for 5 minutes after baking to let the filling set.
Scaling for Couples or Crowds
If you're cooking for two, you can easily halve this recipe. Since 12 oz of shells is a lot, just use half the box. For the 1.5 lbs of beef, you can use 0.75 lbs, or better yet, cook the full amount of meat and use the other half for quick tacos the next day.
When scaling down, keep the baking temperature at 350°F (180°C) but check the dish at 15 minutes, as smaller quantities heat through faster.
Scaling up for a party is quite simple. You can double the recipe using two 9x13 pans. I find that when doubling, you only need about 1.5x the amount of taco seasoning to keep the salt levels balanced.
If you are baking two pans at once, rotate them halfway through the 20 minute cook time to ensure the cheese browns evenly on both levels of the oven.
Debunking Traditional Cooking Myths
Many people believe you must add oil to the pasta water to keep the jumbo shells from sticking. In reality, oil just floats on top of the water and eventually coats the pasta, preventing the sauce from clinging to it later.
The only way to stop sticking is to use a large enough pot and plenty of water so the starches can dilute.
Another myth is that you need to brown the beef until it's "crispy" before adding the cream cheese. While a good sear adds flavor, over browning the meat at the start can make the filling feel gritty rather than smooth.
You want the meat just cooked through so it remains tender as it undergoes the second cooking phase in the oven.
Storing and Reviving Your Leftovers
Leftover Taco Stuffed Shells are honestly just as good the next day. Store them in an airtight container in the fridge for up to 4 days. When reheating, I recommend adding a tiny splash of water or a teaspoon of salsa over the shells before microwaving. This creates steam that prevents the pasta from becoming rubbery.
If you have an air fryer, you can reheat them at 350°F (180°C) for 3-5 minutes to get a slightly crispy exterior again.
For zero waste, if you have broken shells left in the box, don't throw them away. Break them into smaller pieces, boil them, and toss them with any leftover meat and cheese for a "deconstructed" taco pasta bowl.
If you have extra taco sauce at the bottom of the jar, mix it with a little sour cream to create a zesty dipping sauce for the shells.
Perfect Toppings and Side Pairings
Once the shells are out of the oven, the real fun begins with the toppings. I love a cold meets hot contrast. A dollop of cool sour cream, some shredded iceberg lettuce for a watery crunch, and a handful of pickled jalapeños can change the whole experience.
Fresh cilantro and a squeeze of lime juice add a hit of brightness that cuts through the heavy cheese and beef.
If you want to turn this into a full spread, serve it alongside a crisp corn salad or some cilantro lime rice. The richness of the cream cheese filling pairs beautifully with something acidic.
I’ve even seen people serve these with a side of crushed tortilla chips on top for an added "shatter" texture that mimics a real taco shell. Right then, let's get that oven preheated and start stuffing!

Critical Level of Sodium
1420 mg mg of sodium per serving
(62% of daily value)
The American Heart Association recommends limiting sodium intake to about 2,300mg per day for overall health.
Sodium Reduction Tips for Taco Stuffed Shells
-
DIY Taco Seasoning-25%
Skip the pre-packaged taco seasoning, which is often very high in sodium. Make your own using chili powder, cumin, paprika, garlic powder, onion powder, oregano, and a pinch of salt. This allows you to control the sodium content and tailor the flavor to your preference. Consider a no-salt blend!
-
Low-Sodium Salsa & Taco Sauce-20%
Choose low-sodium or no-salt added salsa and taco sauce. Look for labels that specify reduced sodium content. This can significantly lower the overall sodium in the dish. Alternatively, consider making your own salsa.
-
Reduce Cheese Quantity/Type-15%
Cheese contributes significantly to the sodium. Reduce the amount of shredded cheese used, or opt for a lower sodium cheese option like Swiss, part skim mozzarella, or a naturally lower sodium cheddar.
Consider adding a small amount of a stronger flavored cheese (like sharp cheddar) mixed with a low-sodium cheese to maintain flavor while reducing sodium.
-
Rinse the Ground Beef-10%
After browning the ground beef, drain off any excess fat and rinse it with hot water. This can help remove some of the sodium that may have been added during processing. Be sure to pat dry afterwards to ensure proper browning.
-
Skip the Salted Pasta Water-10%
When boiling the jumbo pasta shells, avoid adding salt to the water. You can still achieve perfectly cooked pasta without increasing the sodium content of the dish. Alternatively, use low sodium vegetable broth to boil the pasta for added flavor.
-
Flavor with Herbs & Spices
Enhance the flavor of the stuffed shells with fresh or dried herbs and spices instead of relying on salt. Garlic, onion, chili powder, cumin, and oregano can add depth and complexity to the dish without increasing the sodium content. Fresh herbs generally offer more robust flavor.
Estimated Reduction: Up to 60% less sodium
(approximately 568 mg per serving)
Recipe FAQs
Can I make Taco Stuffed Shells ahead of time?
Yes, up to 24 hours. Assemble the shells completely, cover them tightly, and refrigerate before the final baking stage.
How do I prevent the pasta shells from tearing when stuffing them?
Cook the shells for 2 minutes less than recommended. Par boiling ensures they are still structurally sound enough to hold the heavy beef filling without breaking apart.
What is the role of cream cheese in the beef filling?
The cream cheese acts as a binding agent. It emulsifies with the rendered beef fat and seasoning to create a cohesive, velvety paste that keeps the filling rich.
How do I stop the shells from sticking to the bottom of the baking dish?
Coat the bottom liberally with taco sauce first. This creates a necessary steam environment that softens the base while preventing the pasta from adhering to the glass during the bake.
Is it necessary to drain the ground beef after browning it?
Yes, drain the fat thoroughly. Removing the excess grease prevents the final casserole from developing an oily layer on top and keeps the texture consistent.
What internal temperature should the filling reach when finished baking?
The filling should reach 160°F (71°C) minimum. For larger, deeper shells, let it rest for five minutes after baking so the cheese bubbles and sets slightly.
How can I make the shells less oily if I use leaner beef?
Start the beef by sautéing it in 1 tablespoon of olive oil. This kickstarts the Maillard reaction and adds necessary fat to help the spices adhere properly.
Taco Stuffed Shells Recipe
Ingredients:
Instructions:
Nutrition Facts:
| Calories | 729 calories |
|---|---|
| Protein | 42.0g |
| Fat | 36.7g |
| Carbs | 53.2g |
| Fiber | 3.4g |
| Sugar | 6.2g |
| Sodium | 1420mg |
