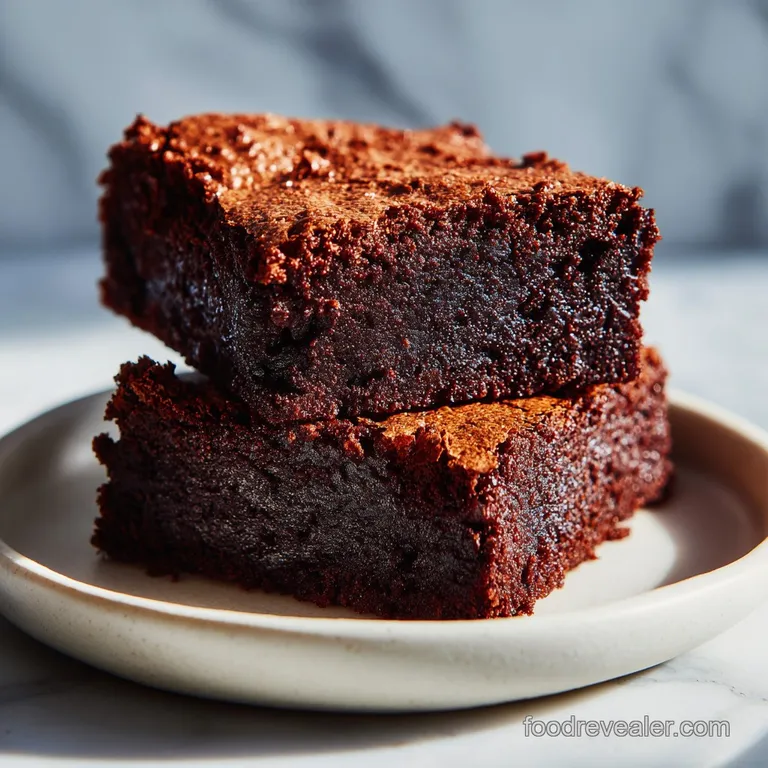
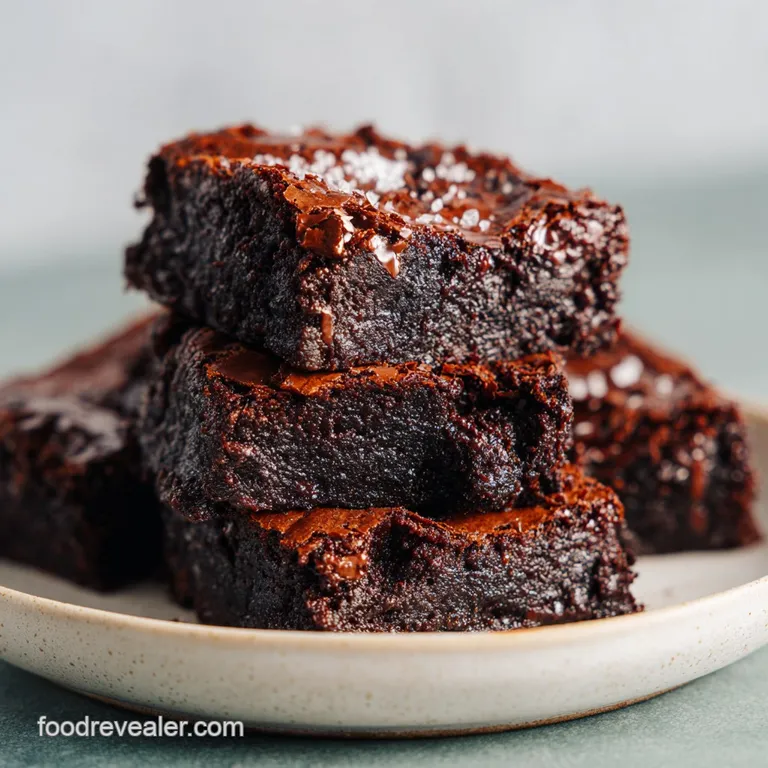
Fudgy Sourdough Discard Brownies
- Time: Active 15 minutes, Passive 25 minutes, Total 40 minutes
- Flavor/Texture Hook: Deep cocoa richness with a shatter crisp top and chewy, molten like middle.
- Perfect for: Weekend baking projects or a quick way to use up kitchen scraps without waste.
- Unlock Fudgy Perfection with Sourdough Discard Brownies
- Why This Science Works
- Component Analysis
- Essential Ingredients for Success
- Simple Tools for Busy Cooks
- Easy Step by Step Method
- Fix Common Brownie Mistakes
- Tasty Flavor Twists to Try
- Storing and Freezing Your Treats
- Delicious Serving Suggestions
- Recipe FAQs
- 📝 Recipe Card
Unlock Fudgy Perfection with Sourdough Discard Brownies
The first time I stood over my kitchen sink with a jar of bubbly, sour smelling discard, I felt that familiar pang of guilt. Tossing it away felt like a waste of potential, but I wasn't in the mood for another loaf of bread. I wanted something dark, sweet, and comforting.
On a whim, I whisked that tangy discard into a pool of melted butter and Dutch processed cocoa powder. The result wasn't just "good for a leftover ingredient" it was the best brownie I had ever tasted in my life.
The magic happens when that slight acidity from the sourdough meets the deep, earthy bitterness of the chocolate. It doesn't taste like bread; instead, the sourdough acts as a flavor enhancer, much like a pinch of salt or a splash of espresso.
It cuts through the heavy sugar and fat, leaving you with a complex, sophisticated sweetness that keeps you coming back for a second (or third) square. Trust me, once you see that shiny, papery crust shatter under your knife, you'll never go back to box mixes again.
We've all dealt with the kitchen chaos of trying to balance a sourdough schedule. These brownies are my favorite solution because they don't care if your starter is active and bubbly or if it’s been hibernating in the back of the fridge for a week.
They are forgiving, fast, and yield a velvety texture that most recipes can only dream of. Right then, let's get your oven preheated and turn that discard into something truly tasty.
Why This Science Works
The Physics of the Fudge
The secret to these brownies lies in how the sourdough acidity interacts with the structure of the sugars and fats. By using a specific ratio of discard to flour, we achieve a texture that sits perfectly between a truffle and a traditional cake.
- Enzyme Breakdown: The lactic acid in the sourdough discard weakens the gluten in the all purpose flour, ensuring the bars remain tender rather than bread like.
- Maillard Enhancement: The unique sugars present in fermented flour brown more deeply, contributing to a rich, caramelized flavor profile.
- Emulsification Power: The hydration level of the discard helps bind the melted butter and sugars, creating that sought after velvety crumb.
- Moisture Retention: Starch molecules in the fermented starter trap water more effectively, which keeps these brownies from drying out for days.
| Baking Method | Active Starter | Sourdough Discard | Resulting Texture |
|---|---|---|---|
| Traditional Bake | Higher rise, airy | Dense, fudgy | Fresh is cakey; discard is chewy |
| Quick Shortcut | Longer prep time | 15 minutes prep | Discard saves time and adds tang |
| Flavor Profile | Mildly sweet | Complex, deep cocoa | Discard highlights chocolate notes |
If you find yourself running low on starter but still want a treat, you might also enjoy experimenting with a Sourdough Discard French recipe for a different way to use those leftovers. Both methods prioritize reducing waste while maximizing the unique flavor that only fermentation can provide.
Component Analysis
| Ingredient | Science Role | Pro Secret |
|---|---|---|
| Dutch Cocoa | Provides pH neutral chocolate base | Sift it twice to avoid bitter clumps |
| Sourdough Discard | Adds acidity and moisture | Use it straight from the fridge for thickness |
| Granulated Sugar | Creates the crackly, shiny top | Whisk into warm butter to dissolve fully |
| Unsalted Butter | Delivers fat for a fudgy mouthfeel | Brown the butter first for a nutty aroma |
Understanding these components is key to a successful bake. For instance, the sugar isn't just for sweetness; it’s the structural glue that creates that iconic papery crust. When you whisk the 1.5 cups (300g) of granulated sugar and 0.5 cup (100g) of light brown sugar into the warm butter, you're essentially creating a stable emulsion that will eventually rise and shatter in the oven.
Essential Ingredients for Success
For this recipe, we are using standard pantry staples that most home cooks already have on hand. It’s all about the quality of your cocoa and the temperature of your ingredients.
- 1 cup (225g) unsalted butter: Melted and kept warm. Why this? Warm fat dissolves sugar better for a shiny top.
- 1.5 cups (300g) granulated sugar: Standard white sugar. Why this? This is the key to the crinkle top texture.
- 0.5 cup (100g) light brown sugar: Packed firmly. Why this? Adds molasses notes and keeps the center chewy.
- 0.75 cup (75g) Dutch processed cocoa powder: Sifted. Why this? Offers a darker color and smoother flavor than natural cocoa.
- 0.5 tsp fine sea salt: To balance the sweetness. Why this? Salt intensifies the chocolate experience significantly.
- 0.5 cup (125g) sourdough discard: Room temperature is best. Why this? Provides the characteristic tang and moisture.
- 2 large eggs: Room temperature. Why this? They emulsify more easily into the batter when not cold.
- 1 tbsp vanilla extract: Use the real stuff if you can. Why this? Vanilla acts as a flavor bridge for the cocoa.
- 0.75 cup (95g) all purpose flour: Measured by weight for accuracy. Why this? Just enough to provide structure without being cakey.
- 1 cup (170g) semi sweet chocolate chips: Or chopped chocolate chunks. Why this? Provides little pockets of molten chocolate in every bite.
| Original Ingredient | Substitute | Why It Works |
|---|---|---|
| Dutch Cocoa (0.75 cup) | Natural Cocoa Powder | More acidic; brownies will be lighter in color |
| Unsalted Butter (1 cup) | Salted Butter | Works fine just omit the 0.5 tsp sea salt |
| Light Brown Sugar (0.5 cup) | Dark Brown Sugar | Increases moisture and adds a deeper caramel note |
If you are looking for a lighter option with different macros, you can compare this to a Zero Sugar Brownies recipe which uses Greek yogurt for moisture. However, for the ultimate traditional fudge experience, the butter and discard combo in this recipe is hard to beat.
Simple Tools for Busy Cooks
I’m a big fan of minimal cleanup. You don't need a heavy stand mixer for this. In fact, a hand whisked batter often results in a better texture for brownies because you’re less likely to over aerate the eggs, which leads to a cakey crumb.
Chef's Tip: Freeze your chocolate chips for 10 minutes before folding them into the batter. This prevents them from melting instantly, ensuring you get distinct, velvety "studs" of chocolate throughout the bake.
Grab a large microwave safe bowl for melting the butter and mixing the base. A sturdy silicone spatula is your best friend here for folding in the flour without overworking the gluten. For the baking pan, a standard 9x9 inch metal pan is ideal.
Metal conducts heat more efficiently than glass, which helps get those edges nice and chewy. Line it with parchment paper, leaving an overhang on the sides so you can lift the entire block of brownies out once they’ve cooled.
Easy step-by-step Method
- Prep the oven. Preheat to 350°F (180°C) and line a 9x9 inch pan with parchment.
- Melt the butter. Place 1 cup (225g) unsalted butter in a large bowl and heat until fully melted and warm.
- Whisk the sugars. Add 1.5 cups (300g) granulated sugar and 0.5 cup (100g) brown sugar to the butter. Note: Whisk vigorously for 2 minutes to help the sugar dissolve.
- Incorporate discard. Stir in 0.5 cup (125g) sourdough discard, 2 large eggs, and 1 tbsp vanilla.
- Emulsify the base. Whisk until the mixture looks glossy and smooth.
- Sift the dry. Add 0.75 cup (75g) cocoa powder, 0.5 tsp salt, and 0.75 cup (95g) all purpose flour.
- Fold gently. Use a spatula to fold the dry ingredients until no white streaks remain.
- Add chocolate. Fold in 1 cup (170g) semi sweet chocolate chips.
- Bake the batch. Pour into the pan and bake for 25 minutes until the edges are set but the center slightly wobbles.
- Cool completely. Allow to sit in the pan for at least 30 minutes before slicing.
| Goal | If you want... | Then do this... |
|---|---|---|
| Extra Fudgy | Ultra dense centers | Under bake by 2 minutes and chill overnight |
| Cakey Texture | A lighter, airy crumb | Whisk the eggs for 3 minutes before adding flour |
| Intense Flavor | Deep chocolate notes | Add 1 tsp of espresso powder to the butter |
Fix Common Brownie Mistakes
We've all had those moments where the center is raw while the edges are burnt. The most common culprit is usually the oven temperature or the pan material. If your brownies are coming out too thin, check the size of your pan a 9x13 inch pan will make them quite flat and prone to overcooking.
Why Your Brownies Lack Crinkle
The "crinkle top" is a thin layer of meringue that forms when sugar dissolves into the egg proteins. If you don't whisk your sugars and eggs well enough, the sugar stays granulated and won't migrate to the surface to form that shiny crust.
Why Your Brownies Are Greasy
If you see a pool of oil on top, the emulsion broke. This usually happens if the butter was screaming hot when you added the eggs, effectively "scrambling" them and preventing them from holding the fat in place. Always make sure your butter is warm, not boiling.
| Problem | Root Cause | Solution |
|---|---|---|
| Dry/Crumbly | Too much flour or over baked | Measure flour by weight and check at 22 minutes |
| No Sourdough Tang | Starter is too young | Use discard that has sat in the fridge for 3-5 days |
| Sunken Center | Too much air whisked in | Don't over beat once the flour is added |
Common Mistakes Checklist
- ✓ Use room temperature eggs to ensure a smooth emulsion with the fat.
- ✓ Sift your cocoa powder to prevent tiny bitter bombs in the batter.
- ✓ Don't skip the parchment paper; these are sticky and will cling to the pan.
- ✓ Let the brownies cool completely! Slicing while hot leads to a messy, jagged edge.
- ✓ Check your oven temperature with a separate thermometer for accuracy.
Tasty Flavor Twists to Try
Once you've mastered the base Sourdough Discard Brownies, the variations are endless. One of my favorite tricks is to sprinkle a generous pinch of flaky Maldon salt over the top immediately after they come out of the oven. It makes the chocolate pop in a way that's totally addictive.
If you like a bit of a kick, try adding half a teaspoon of cayenne pepper and a teaspoon of cinnamon. This "Mexican Hot Chocolate" version is incredible with a scoop of vanilla bean ice cream. For a nutty crunch, swap the chocolate chips for toasted walnuts or pecans.
The earthiness of the nuts plays beautifully with the sourdough's slight tang.
Another fun idea is the "Swirl." Take 2 tablespoons of peanut butter or cream cheese, microwave it for 10 seconds to soften, and dollop it over the raw batter. Use a toothpick to swirl it through before baking. It looks stunning and tastes like something from a high end bakery.
Storing and Freezing Your Treats
These brownies actually taste better on the second day. The flavors have time to meld, and the sourdough tang becomes more pronounced. You can store them in an airtight container at room temperature for up to 4 days. If you like them extra chewy, keep them in the fridge they become almost fudge like when cold.
For long term storage, these freeze beautifully. Wrap individual squares in plastic wrap and then place them in a freezer safe bag. They will stay fresh for up to 3 months. When the craving hits, just let one thaw on the counter for 20 minutes, or pop it in the microwave for 10 seconds if you want that "just out-of the-oven" molten feel.
Zero Waste Tip: If you ever end up with brownies that are a bit too dry (maybe you forgot them in the oven while scrolling TikTok), don't throw them out! Crumble them up and use them as a topping for yogurt or blend them into a "brownie batter" milkshake.
You can even dry them out further in a low oven to make brownie "croutons" for a dessert salad.
Delicious Serving Suggestions
While a plain square is fantastic, you can easily turn these into a show stopping dessert. A warm brownie topped with a drizzle of salted caramel sauce and a dollop of whipped cream is a classic for a reason. The richness of the cream balances the density of the fudge.
- 1. Temperature
- Ensure your butter is roughly 110°F (43°C) when adding sugars.
- 2. Timing
- Pull the pan at exactly 25 minutes if using a metal 9x9 pan.
- 3. Weight
- Use exactly 125g of discard; too much will make the batter runny.
If you're serving these at a party, try cutting them into tiny 1 inch "bites." They are so rich that a small piece is often enough to satisfy a sweet tooth. They also pair perfectly with a dark roast coffee or a cold glass of oat milk.
The bitterness of the coffee complements the Dutch cocoa, while the milk cleanses the palate between bites. Enjoy the kitchen chaos it's worth it for that first fudgy bite!

Recipe FAQs
Can I substitute active sourdough starter instead of discard?
No, it is not recommended. Active starter has higher leavening power which will cause the brownies to rise like a cake rather than set into a dense fudge layer.
What is the required internal temperature when the brownies are done?
Do not rely solely on temperature for doneness. A toothpick inserted halfway should come out with moist, sticky crumbs attached, not wet batter.
How do I guarantee a shiny, crackly top on my brownies?
Whisk the melted butter and all sugars together vigorously for at least two minutes. This dissolves the sugar crystals, allowing them to migrate to the surface and form the meringue like crust.
Is it true I must use Dutch processed cocoa powder for the best flavor?
No, this is a common misconception, but it is highly preferred. Natural cocoa is more acidic and can result in a lighter brown color; Dutch processed offers that deep, sophisticated chocolate profile we aim for here.
How to store leftover sourdough discard brownies for maximum fudginess?
Store them tightly wrapped in an airtight container at room temperature for up to four days. For an even denser, chewier texture, chill them in the refrigerator overnight.
What if my sourdough discard has been in the fridge for two weeks?
Yes, you can safely use it, but it might lack tang. Older discard often loses significant acidity; you can balance this by adding 1/2 teaspoon of fresh lemon juice to the wet ingredients if you need that sour note.
How to salvage a batch of brownies that look too cakey?
Press a clean plastic wrap sheet directly onto the warm surface before cooling. This traps steam and forces moisture back into the crumb, making them denser, similar to the results achieved when making a Chewy Christmas Cranberry recipe.
Fudgy Sourdough Discard Brownies
Ingredients:
Instructions:
Nutrition Facts:
| Calories | 304 kcal |
|---|---|
| Protein | 3.4 g |
| Fat | 16.1 g |
| Carbs | 41.4 g |
| Fiber | 2.5 g |
| Sugar | 35.6 g |
| Sodium | 82 mg |
