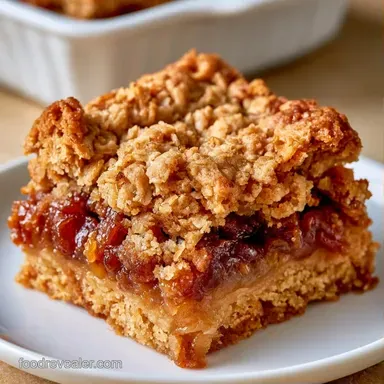
Gluten Free Date Squares with Almond Flour
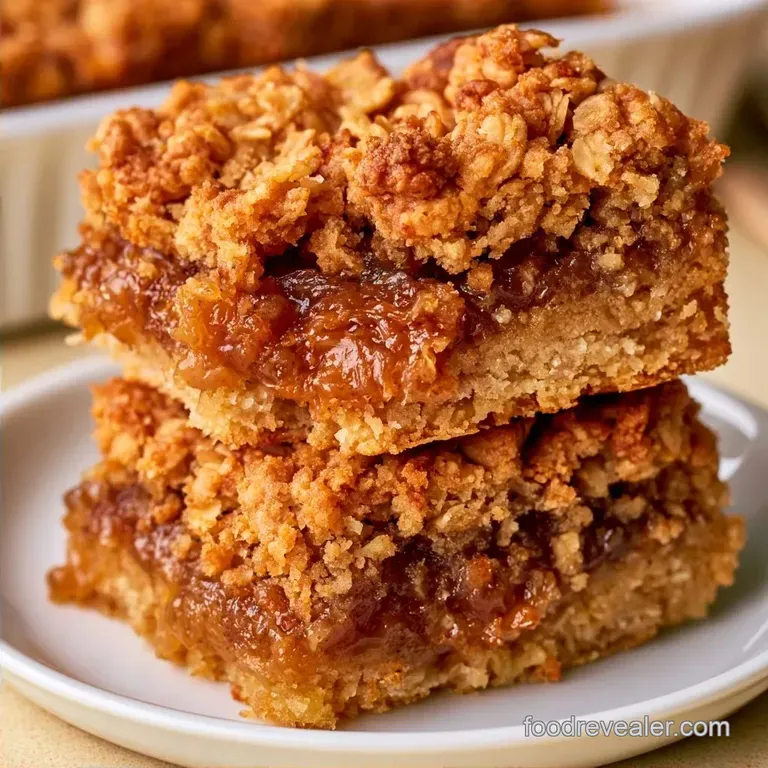
- Time: 10 min active + 30 min bake
- Flavor/Texture Hook: Buttery toasted oats with a sticky, sweet center
- Perfect for: Quick tea time snacks or kid friendly lunchboxes
The smell of toasted oats and warm dates hitting the oven air is honestly the best part of my Sunday. I used to struggle with these, though. My first few batches were a disaster, mostly because I used a single flour blend that felt like eating wet sand.
I realized that the key is the balance of fats. By mixing almond flour with certified gluten-free oats, the bars actually stay together. You get that nostalgic, chewy texture without the fragility usually found in gluten-free baking.
These Date Squares deliver a quick win for anyone who wants a treat that feels homemade but doesn't take all day. They're sweet, hearty, and satisfying.
The Best Chewy Date Squares
Whether you're craving something nostalgic or just need a snack that survives a commute, these work because of a few simple tweaks.
Oat and Almond Blend: Almond flour provides the fat and protein that oats lack, which helps the base bind together without gluten.
Boiling Water Soak: Soaking the dates in boiling water breaks down their tough skins, making the filling smooth and easy to spread.
Tools You'll Need
No fancy equipment is required. A food processor will make the filling much quicker, but a blender is a suitable substitute. Use a 9x9 inch baking pan and line it with parchment paper. The paper is critical to ensure the bars lift out without breaking. A mixing bowl and a spatula are the only other tools required.
What the Ingredients Do
The Medjool dates are the star here. They provide a natural, caramel like sweetness and a thick consistency. I use lemon juice and vanilla to cut through that richness, preventing the filling from tasting one dimensional.
For the crust, brown sugar adds a deep, molasses note that pairs well with the toasted oats. Softened butter is what gives the bars their melt in-your mouth quality. If you use cold butter, the crumble stays too chunky and won't press down into a solid base.
Quick Recipe Details
The goal is a golden brown top and a set center. Here are the numbers you need to hit:
- Prep Time: 10 minutes
- Bake Time: 30 minutes
- Total Time: 50 minutes
- Oven Temp: 350°F (175°C)
- Yield: 16 squares
- Pan Size: 9x9 inch
Making the Squares
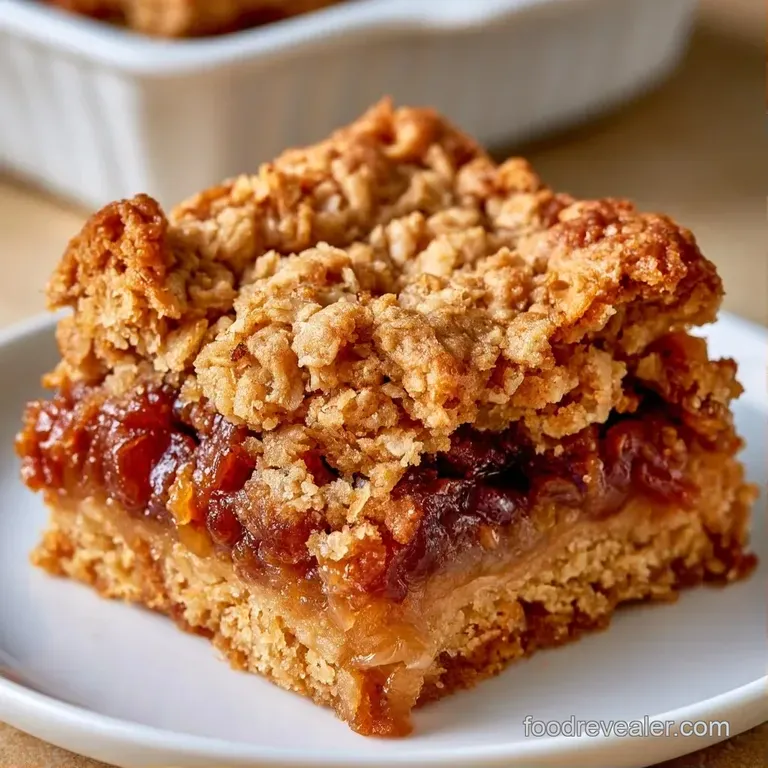
Use these instructions to achieve the perfect layers.
For the Date Filling
- Pour boiling water over the chopped Medjool dates in a bowl. Let them steep for 5–10 minutes until softened.
- Move the dates and their soaking liquid into a food processor. Stir in the vanilla extract, lemon juice, and salt.
- Pulse until the mixture is smooth and velvety. Note: This prevents any lumps in the center filling.
For the Crumble
- In a large mixing bowl, beat the softened butter and brown sugar together until smooth.
- Fold in the salt, almond flour, and certified gluten-free rolled oats.
- Use a spatula to mix until the texture resembles wet sand with some clumps. Note: Avoid overmixing to maintain the craggy texture.
- Heat the oven to 350°F (175°C). Prepare a 9x9 inch pan by lining it with parchment paper, leaving an overhang on the sides.
Assembly and Baking
- Firmly press about 3/4 of the crumble mixture into the bottom of the pan with the back of a spoon.
- Layer the date filling evenly over the base, smoothing it toward the edges.
- Scatter the remaining crumble on top, pressing very lightly.
- Bake for 30 minutes until the top smells toasted and the edges are golden brown.
Fixing Common Issues
If your Date Squares aren't behaving, it usually comes down to moisture or temperature.
If Base is Crumbly
This happens when the butter is too cold or the oats aren't pressed down enough. Ensure your butter is soft to the touch before mixing.
If Filling is Runny
Too much soaking water can make the center slide. Blend the mixture for an extra 30 seconds to let the natural pectins thicken the paste.
If Bars Stick
Without parchment paper, the sugar in the dates acts like glue. Always use an overhang so you can lift the whole block out at once.
| Problem | Fix |
|---|---|
| Base falls apart | Press firmly with a flat glass |
| Center too liquid | Pulse dates longer in processor |
| Burnt edges | Rotate pan halfway through baking |
Storage and Waste Tips
Keep these in a container at room temperature for 2 days or refrigerate them for 5 days. I prefer them cold, as it gives the date layer a fudge like consistency. For long term storage, wrap each one individually in wax paper and freeze for 2 months.
Don't waste any leftover date paste. Mix it into your oatmeal or blend it into a smoothie as a natural sweetener. If you have some stray oats or crumbs remaining in the bowl, sauté them with butter and cinnamon for a quick snack.
Tasty Flavor Swaps
You can easily change the vibe of these Free Date Squares. For a richer experience, try adding a handful of chopped walnuts or pecans to the crumble.
Quick adjustments: Nutty profile? → fold in 1/2 cup chopped pecans. Autumn flavor? → add 1 tsp cinnamon to the oats. dairy-free? → use vegan butter.
If you want something even more indulgent, you might like dark chocolate date bars which add a bitter cocoa contrast. For a lighter, breakfast style version, my oatmeal date bars are a great alternative.
These Free Date Squares are also a great base for experiments. I've tried adding a pinch of cardamom to the date filling, and it adds a wonderful floral note.
Serving Your Treats
Let these cool entirely before serving. If you slice them while they are still warm, the date center may leak out. For the neatest results, use a sharp knife and wipe the blade clean after every cut.
These pair beautifully with a bold espresso or a chilled glass of soy milk. Since they are naturally sweet, they make a wonderful afternoon treat. For party guests, add a light dusting of powdered sugar for a more professional finish.
Debunking Date Myths
Some believe you must simmer dates on the stove for an hour to achieve a jammy texture. This isn't the case; boiling water accomplishes the same thing in ten minutes, sparing you from standing over the stove.
Others argue that gluten free desserts are inevitably dry. As these gluten free Date Squares demonstrate, almond flour keeps the bars moist and chewy.
Ingredient Substitutions
| Original Ingredient | Substitute | Why It Works |
|---|---|---|
| Almond Flour | Oat Flour | Similar texture. Note: Slightly less richness |
| Brown Sugar | Coconut Sugar | Comparable toasted flavor. Note: Slightly grainier |
| Unsalted Butter | Coconut Oil | Equivalent fat levels. Note: Introduces a hint of coconut |
And there you have it. These Date Squares are a dependable and delicious dessert that proves simple ingredients can create something special. Just remember to press the base down firmly and allow them to cool before diving in. Enjoy!
Recipe FAQs
Do Medjool dates contain gluten?
No, dates are naturally gluten-free. They are a fruit and entirely safe for those avoiding gluten.
Are these squares safe for celiac disease?
Yes, provided you use certified gluten-free oats. The combination of almond flour and certified oats makes this dessert safe for celiac diets.
How to make the date filling smooth?
Pulse the soaked dates in a food processor. Blend them with lemon juice and vanilla until the mixture is completely velvety.
Is it true that date squares require heavy refined sugar?
That's a myth. The natural sugars in Medjool dates provide the bulk of the sweetness in this recipe.
Can I use regular oats instead of certified GF?
No, stick to certified gluten-free oats. Regular oats are often cross contaminated during processing. For other sweet treats, try our glazed donuts.
What is the best way to store them?
Store in a container at room temperature. They last 2 days, though refrigerating them for up to 5 days creates a richer, fudge like consistency.
gluten free Date Squares