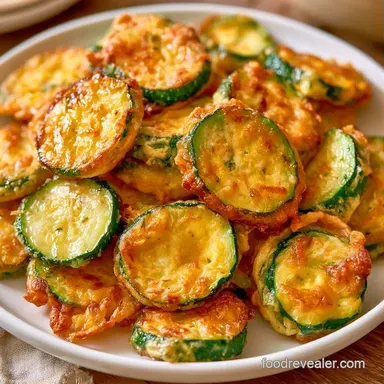
Korean Fried Zucchini (Hobak Jeon)
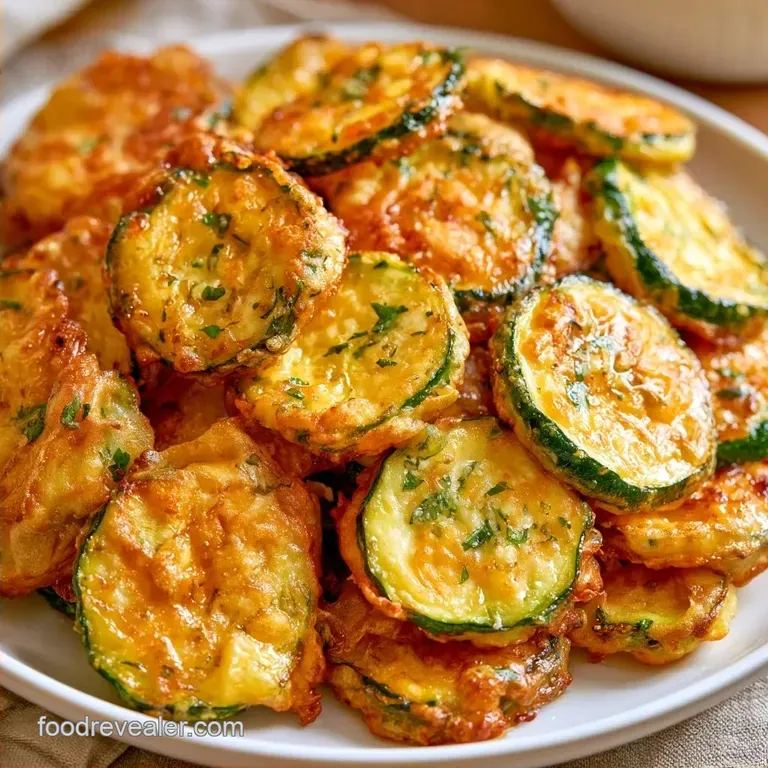
- Time: 10 min active + 10 min salting
- Flavor/Texture Hook: Shattering crisp exterior with a tender, sweet center
- Perfect for: A quick side dish or a light appetizer
The aggressive, sharp sizzle of zucchini hitting hot oil is the real highlight. In my early attempts, I completely ignored the salting process. The result was a disappointing, soggy disaster that steamed within the coating rather than frying, reminiscent of eating wet sponges.
Solving that moisture problem made all the difference. Now, I rely on this recipe whenever I want a dish that seems elaborate but requires very little active effort.
Expect a light, egg-based coating that browns in no time. Rather than a heavy batter, this Korean Fried Zucchini uses a delicate layer of flour and egg to lock in the moisture.
Making Crispy Korean Fried Zucchini
The Salt Purge: Salt pulls water out of the zucchini cells. This stops the veggie from releasing steam into the oil, which is what usually makes the batter peel off.
Flour First Method: A light dust of flour acts like a primer. It grips the zucchini and gives the egg wash something to cling to so the crust stays attached.
Tools For The Job
This recipe requires minimal equipment. All you really need is a medium skillet; a non-stick pan is acceptable, though stainless steel or cast iron will achieve a better sear.
I recommend using one large bowl for salting and another for the egg wash. Paper towels are absolutely essential, leaving any moisture on the slices will cause the oil to splatter and result in a softer crust.
Gathering Your Essentials
If possible, opt for the smaller, firmer Korean zucchini. They are sweeter and have fewer seeds. If using standard zucchini, just slice them a bit thinner.
The Main Components:
- 1 medium Korean zucchini (approx. 10 oz / 280g)Why this? Sweeter taste and a more solid texture
- 1/2 tsp fine sea saltWhy this? Pulls out extra liquid for a better crunch
- 1/4 cup all purpose flourWhy this? Creates a base for the egg to cling to
- 2 large eggsWhy this? Builds the savory, golden-brown coating
- 1/4 tsp ground black pepperWhy this? Adds a touch of mild heat
- 3 tbsp neutral oilWhy this? High heat tolerance prevents scorching
The Dipping Sauce:
- 1 tbsp soy sauce
- 1 tsp rice vinegar
- 1/2 tsp toasted sesame oil
- 1 pinch granulated sugar
Substitution Options
| Original Ingredient | Substitute | Why It Works |
|---|---|---|
| Korean Zucchini | Regular Zucchini | Similar flavor. Note: Pat them extra dry as seeds are larger |
| All Purpose Flour | Cornstarch | Provides a lighter, airier crunch |
| Neutral Oil | Grapeseed Oil | High smoke point and mild flavor |
Timing and Yield
This is a fast process. You'll spend about 10 minutes prepping and 10 minutes at the stove. The "hidden" time is the 10 minutes the zucchini sits in salt.
- Prep time: 10 minutes
- Cook time: 10 minutes
- Total time: 30 minutes
- Yield: 2 servings
Cooking Steps
Phase 1: The Moisture Purge
- Trim the ends of the zucchini and slice into rounds 1/4 inch (6mm) thick.
- Toss slices in a bowl with salt and let them sit for 10 minutes. Note: You'll see tiny water beads form on the surface
- Pat each slice dry with a paper towel. Do this thoroughly or the batter will slide off.
Phase 2: The Double Coating
- Dredge each slice in flour, shaking off the excess until it looks frosted.
- Whisk eggs and black pepper in a bowl.
- Submerge floured zucchini into the egg wash until fully coated. Note: The egg wash should be silky and well combined
Phase 3: The Golden Sear
- Heat oil in a skillet over medium heat. Wait until a drop of batter sizzles immediately.
- Place slices in the pan with space between them.
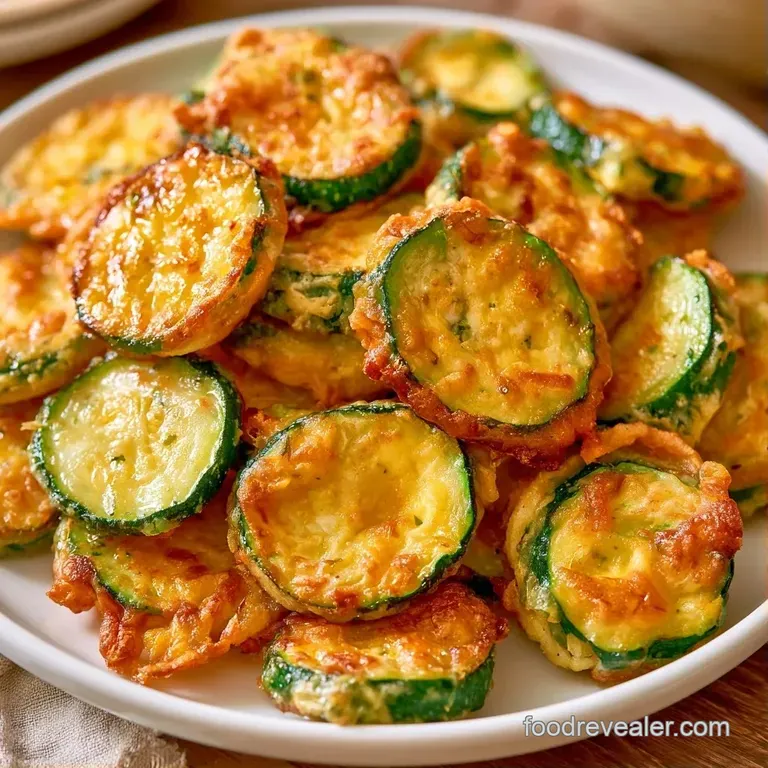
- Fry for 2-3 minutes per side until a golden brown hue is achieved.
Fixing Common Issues
If the zucchini feels limp, you likely didn't salt them long enough. The salt needs those full 10 minutes to do its job. If the oil isn't hot enough, the zucchini will soak up the fat like a sponge instead of searing.
Another common issue is the "batter slide." This happens when there's too much flour or too much moisture. Shake the slices well before the egg dip.
Batter Peeling Off
The flour didn't bond to the zucchini, often because the slices were still damp.
Oil Splattering
Too much water was left on the zucchini after salting.
Brown Edges Raw Center
The heat was too high, burning the egg before the zucchini softened.
| Problem | Fix |
|---|---|
| Batter peeling | Pat drier and shake off excess flour |
| Oil splattering | Use more paper towels to dry slices |
| Burnt edges | Lower heat to medium and fry slower |
Keeping It Fresh
Korean Fried Zucchini is best served immediately. As they cool, moisture moves from the core to the crust, and that shattering crispiness is lost.
Place any extras in a container in the refrigerator for about 2 days. To restore the crunch, avoid using a microwave. Instead, heat them in a dry skillet over medium-high for 2 minutes per side or pop them in an air fryer at 375°F (190°C) for 3 minutes.
To minimize waste, save the zucchini ends and stems. Toss them into a veggie stock pot or grate them into a frittata.
Ways to Twist It
If you want a different flavor profile, you can change the dredging stage. Instead of plain flour, mix in a pinch of gochugaru (Korean chili flakes) for a slow heat. This pairs well with creamy coleslaw for a full feast.
For a lighter version, swap the AP flour for cornstarch. This gives the Korean Fried Zucchini a more translucent, glass like crispness.
Quick Decision Shortcut:
- Extra tang? → add 1 tsp lemon juice to the dip
- Spicier kick? → fold in 1/2 tsp chili flakes to the flour
- Lighter crust? → replace flour with cornstarch
Best Ways to Serve
This recipe is a traditional banchan, served as one of several small side dishes. It pairs perfectly with steamed rice and a spicy main course. For those who enjoy tangy accompaniments, these complement bread and butter pickles beautifully.
Alternatively, present them as a contemporary appetizer. Simply lay the slices on a platter with the soy vinegar sauce in a central dipping bowl.
Stovetop vs Oven Comparison
| Method | Texture | Speed |
|---|---|---|
| Stovetop | Crispy, golden edges | 10 mins |
| Oven | More uniform, softer | 20 mins |
That covers the basics of this recipe. The magic lies in the balance of the salty, fried crust and the sweet, tender zucchini within. Believe me, this Korean Fried Zucchini will change how you view the vegetable, it's far more than just a filler. Time to get cooking!
Recipe FAQs
How to cook zucchini Korean style?
Slice into 1/4 inch rounds, salt for 10 minutes, pat dry, dredge in flour, dip in egg, and fry for 2-3 minutes per side.
Tip: Leave space between slices in the skillet to ensure they brown instead of steaming.
What makes the crust stay crispy?
Salting the zucchini draws out excess moisture that would otherwise turn the batter soggy.
Tip: Use a paper towel to remove every bit of surface water before dredging in flour.
Is it true that standard garden zucchini is identical to Korean zucchini for frying?
No, this is a common misconception. Korean zucchini is denser and sweeter, providing a superior structure for frying.
Tip: Look for the smaller, lighter green variety at Asian grocery stores.
Can cucumber be used as a substitute?
Yes, a firm cucumber works well if you increase the salting time to remove more water.
Tip: Serve these crispy slices with our basil pesto for a fusion-style appetizer.
Korean Fried Zucchini in 20 Minutes