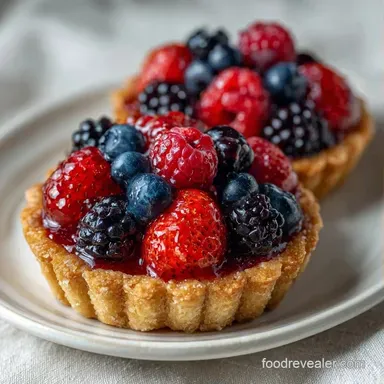
Gourmet Mini Tartlets: from Scratch
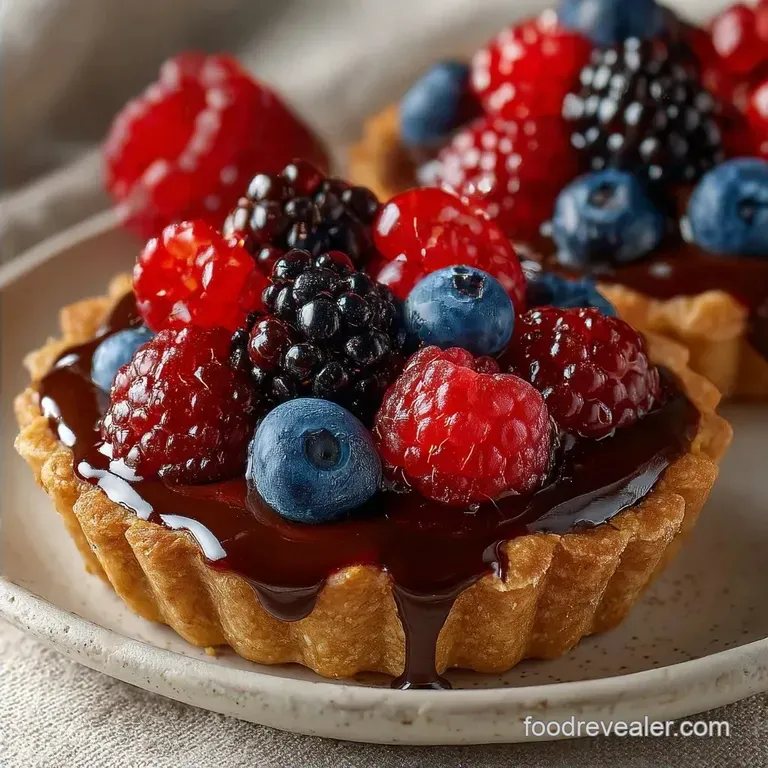
- Time: 20 min active + 1 hour chilling
- Flavor/Texture Hook: Buttery, shatter crisp crust with a velvety finish
- Perfect for: Festive brunch, garden parties, or holiday dessert platters
The smell of toasted butter and vanilla hitting the air is the ultimate signal that a weekend brunch is actually happening. I used to be terrified of making these, thinking I needed a professional kitchen and the patience of a saint to get the edges straight.
Most people tell you that you need a rolling pin and a specialized tart pan to avoid the dreaded "shrunken crust" syndrome.
Forget everything you've heard about that. You don't need a rolling pin, and you certainly don't need expensive equipment. You can get a professional, shatter crisp result using a standard muffin tin and your own thumb to press the dough into place.
Making Mini Tartlets shouldn't feel like a chemistry exam. Once you realize that the secret is just keeping your fat cold and your hands fast, it becomes the most reliable treat in your hosting arsenal.
We're going for a crust that snaps when you bite it, providing the perfect base for whatever creamy or tangy filling you're craving.
Easy Tips for Mini Tartlets
To get that specific snap, we have to manage the gluten. When flour hits water, gluten forms, which is great for chewy bread but terrible for a crisp tart. By pulsing the butter into the flour first, we coat the flour particles in fat.
This creates a physical barrier that stops too much gluten from developing, ensuring your Mini Tartlets stay tender instead of tough.
Cold Butter: Chilled butter creates tiny steam pockets in the oven, which is what gives the crust its flaky structure.
Yolk Emulsion: The egg yolk adds lecithin, which helps the fat and water bind without needing to overwork the dough.
The Chill Factor: Resting the dough for 1 hour lets the flour fully hydrate and the butter firm up again, which stops the shells from sliding down the walls of the tin.
| Method | Time | Texture | Best For |
|---|---|---|---|
| Stovetop Filling | 10 mins | Velvety and silky | Fresh berries and cream |
| Oven baked Filling | 20 mins | Set and dense | Savory quiches or custard |
Component Analysis
| Ingredient | Science Role | Pro Secret |
|---|---|---|
| All Purpose Flour | Provides structure | Spoon and level for exact weight |
| Unsalted Butter | Creates flakiness | Keep it in the fridge until the last second |
| Powdered Sugar | Fine sweetness | Dissolves faster than granulated sugar |
| Egg Yolk | Richness and bind | Use a cold yolk to maintain dough temp |
The Tool Kit Needed
You don't need a fancy atelier to pull this off. A food processor is the fastest way to get the butter incorporated without melting it with your hands, but a pastry cutter works too. You'll also need a standard mini muffin tin, which serves as the perfect guide for the walls of your Mini Tartlets.
For the blind baking process, you'll need some parchment paper and pie weights. If you don't have actual weights, dried beans or uncooked rice from the pantry work just as well. The goal is to keep the bottom of the crust from puffing up like a pillow while the edges set.
Finally, grab a plastic wrap or a beeswax wrap. The dough needs to be compressed into a disc to ensure it chills evenly, which prevents those annoying cold spots that can make the dough crack when you're shaping it.
Essential Ingredients
- 1.5 cups (190g) all purpose flour Why this? Standard protein level for a sturdy but tender crust
- 0.5 cup (115g) unsalted butter, chilled and cubed Why this? High fat content creates the shatter crisp texture
- 0.25 cup (50g) powdered sugar Why this? Creates a smoother crumb than granulated sugar
- 0.25 tsp (1.5g) fine sea salt Why this? Balances the richness of the butter
- 1 large (50g) egg yolk, cold Why this? Adds structure and a golden hue
- 2 tbsp (30ml) ice water Why this? Binds the dough without adding too much moisture
| Original Ingredient | Substitute | Why It Works |
|---|---|---|
| All Purpose Flour | Almond Flour | gluten-free option. Note: Result is denser and more fragile |
| Unsalted Butter | Coconut Oil (solid) | dairy-free. Note: Adds a slight coconut flavor and softer snap |
| Powdered Sugar | Finely Ground Cane Sugar | More rustic flavor. Note: Texture may be slightly grainier |
Right then, let's get into the actual process. Trust me on this, don't rush the chilling stage, or you'll spend your whole party fighting with sticky dough.
Putting it All Together
- Pulse the flour, powdered sugar, and salt in a food processor. Note: This ensures the sugar and salt are evenly distributed
- Add the chilled butter and pulse until the mixture resembles coarse sand with a few pea sized lumps remaining. Watch for the texture to look like wet beach sand
- Add the egg yolk and pulse just until the dough begins to clump together. Note: Do not over process here or the crust will be tough
- If the dough is too dry, add ice water one tablespoon at a time until it holds together.
- Turn the dough onto a piece of plastic wrap, press it into a flat disc, and refrigerate for at least 1 hour.
- Preheat oven to 375°F (190°C) and grease a mini muffin tin.
- Divide the dough into 14 equal balls. Press each ball into the bottom and up the sides of the tin using your thumb until the walls are even
- Line each shell with a small circle of parchment paper and fill with pie weights.
- Bake for 8 minutes, remove weights, and bake for another 5-7 minutes until the edges are a pale gold
Common Mistakes to Avoid
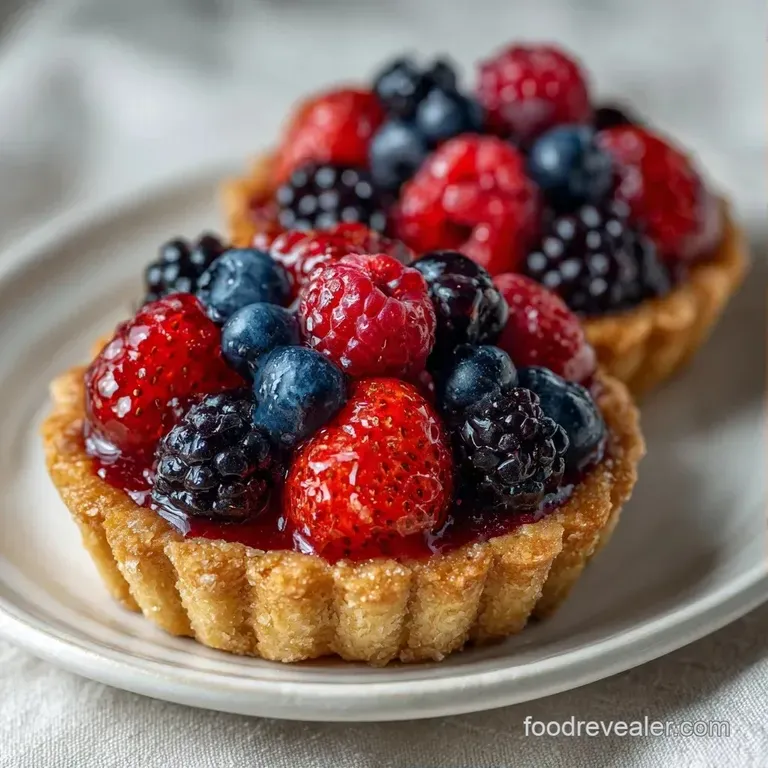
Troubleshooting Common Issues
| Issue | Solution |
|---|---|
| Why Your Crust Shrinks | If your Mini Tartlets slide down the sides of the tin during baking, it's usually because the dough was too warm when it went into the oven. |
| Why the Bottom is Soggy | Sogginess happens when you don't blind bake long enough or when you add a wet filling to a hot crust. Let the shells cool completely before filling them. |
| Why the Shells Crack | Cracks usually come from over working the dough. If you pulse the processor for too long, the gluten develops and the dough becomes elastic. |
Checklist for Success:
- ✓ Butter stayed chilled until the moment of pulsing
- ✓ Dough rested for a full 60 minutes
- ✓ Thumb pressed walls are equal thickness
- ✓ Shells reached a pale gold color before removal
Creative Filling Ideas
Since the crust is a neutral, buttery base, you can take these in any direction. For something sweet, a lemon curd topped with a single fresh raspberry is a classic. If you want to get fancy, try a chocolate ganache with a sprinkle of flaky sea salt.
For those who prefer Mini Tarts Savoury, think about a goat cheese and caramelized onion filling. If you're doing a savory spread, a dollop of Tzatziki Sauce recipe on top of a feta and cucumber tart is a winner. It adds a cool, creamy contrast to the buttery shell.
If you're feeling adventurous, try a "sweet and salty" combo. Fill the shells with a thin layer of brie and top with a tiny slice of apricot or a drizzle of honey. This makes the Mini Tartlets feel like a gourmet appetizer rather than just a dessert.
Scaling the Batch
If you're hosting a smaller group, you can easily halve the recipe. Just beat one egg and use half of it (about 25g). Use a smaller tin and reduce the final bake time by about 2 minutes, as smaller batches sometimes heat up faster in the oven.
When doubling or tripling for a big party, work in batches. Your food processor probably can't handle 3 cups of flour and a pound of butter without overheating. Keep the second batch of dough in the fridge while the first one bakes to ensure the butter doesn't soften.
Debunking Crust Myths
Some people believe that you need to "blind bake" every single tart, even the tiny ones. While it's the safest bet for a crisp bottom, if you're using a very thick, dry filling (like a nut paste), you can sometimes get away with a shorter bake. But for the best results, the two step bake is non negotiable.
Another common myth is that room temperature butter makes the dough easier to handle. While it's true that the dough is softer, you lose all the flakiness. The "difficulty" of cold dough is a small price to pay for a crust that actually shatters when you bite into it.
Storage and Waste Tips
Once cooled, these Mini Tartlets stay fresh in an airtight container in the fridge for up to 3 days. If you're planning ahead, you can freeze the baked shells for up to 2 months. Just pop them in a 300°F (150°C) oven for 5 minutes to refresh the crispness before filling.
To avoid waste, don't toss your dough scraps. Gather the leftover bits, roll them into small balls, and bake them as "mini crackers." Sprinkle them with a bit of smoked paprika or sesame seeds for a quick snack while you're preparing the rest of your brunch.
Plating for the Party
To make these look professional, focus on color balance. A platter of monochrome tarts looks boring. I like to use three specific color accents to make the spread pop:
- Vibrant Red: Use raspberries or pomegranate seeds. Add these last so they don't bleed into the filling.
- Bright Green: A tiny mint leaf or a sliver of pistachio. This adds a sense of freshness to the rich butter.
- Golden Yellow: Use lemon curd or a mango puree. This creates a bright, sunny look that's perfect for a morning event.
If you have a real sweet tooth, these pair great with Sourdough Cinnamon Rolls for a full dessert board. The contrast between the flaky tartlet and the soft, gooey roll is a total crowd pleaser. Arrange them on a wooden board with some fresh grapes and sliced pears to fill in the gaps and make the presentation feel abundant.
Recipe FAQs
Do I thaw frozen tartlet shells before reheating?
No, reheat them directly from frozen. Pop them in a 300°F (150°C) oven for 5 minutes to restore their crispness before adding your fillings.
How to fix dough that is too dry during pulsing?
Add ice water one tablespoon at a time. Pulse briefly after each addition until the dough just begins to clump together.
Is it true that I must roll the dough out with a rolling pin?
No, this is a common misconception. For these mini tartlets, simply divide the dough into equal balls and press them into the tin using your thumb.
How to prevent the tartlet shells from shrinking during baking?
Line each shell with parchment paper and fill with pie weights. This keeps the walls pressed against the tin while the structure sets during the first 8 minutes of baking.
Can I use milk instead of the egg yolk?
No, the egg yolk is essential for binding and richness. If you prefer egg-free options, you can apply similar moisture balancing techniques used in our eggless banana bread.
How to store leftover baked tartlet shells?
Place them in an airtight container. They stay fresh in the fridge for up to 3 days or can be frozen for up to 2 months.
Is it necessary to refrigerate the dough before baking?
Yes, chill the dough for at least 1 hour. This relaxes the gluten and ensures the crust doesn't shrink or become tough in the oven.
Gourmet Mini Tartlets