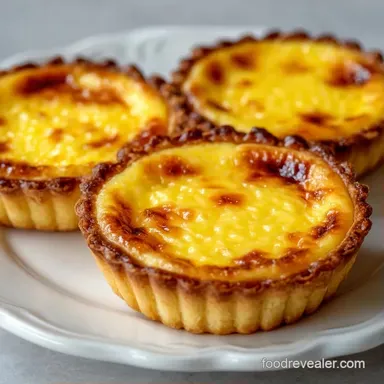
Mini Quiche for Events: Silky and Golden
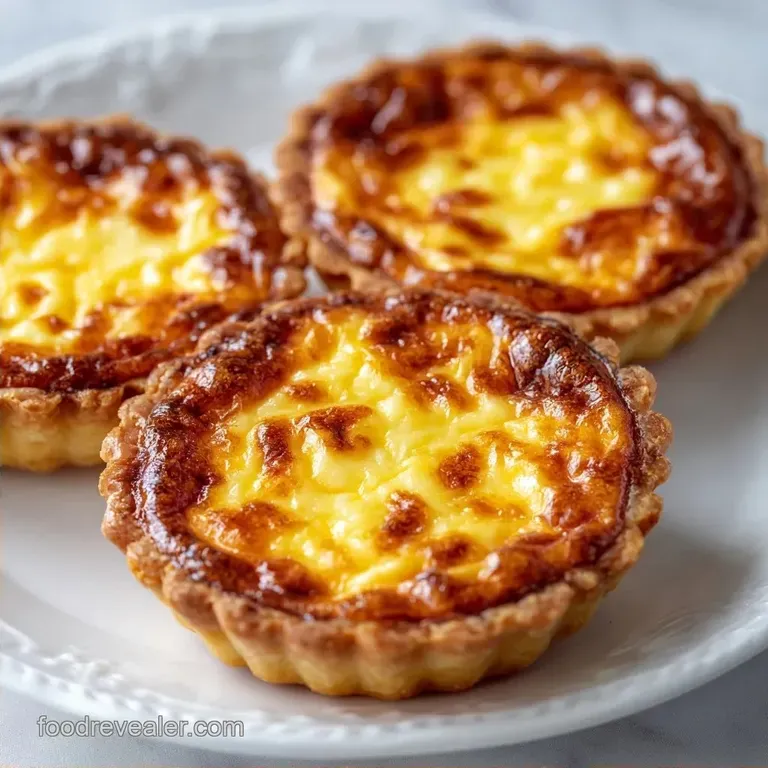
- Time: 25 min active + 25 min baking
- Flavor/Texture Hook: Buttery, mahogany gold crust with a silky Gruyère center
- Perfect for: Weekend brunch hosting or festive appetizers
The scent of toasted butter and a hint of nutmeg always takes me back to the first time I hosted a proper Sunday brunch. I wanted something that felt fancy but didn't require me to be glued to the stove while my friends were sipping mimosas in the living room.
I remember the frantic moment I realized I'd forgotten to pre bake my crusts, but then I discovered the magic of frozen puff pastry.
It turned out to be a total win. Instead of a heavy, dense crust, I got these light, airy bites that practically melted in your mouth. The real trick was keeping the filling simple so the buttery pastry could actually shine.
You can expect a bite-sized treat that feels like a French bistro classic but takes very little effort. This Mini Quiche is designed for those of us who love the party more than the prep. We're focusing on a high impact result with a very reasonable time investment.
The Secret to Perfect Mini Quiche
Pastry Lamination: Puff pastry uses layers of butter that steam in the oven, creating a shatter crisp texture. This prevents the filling from making the base soggy.
Fat to Protein Ratio: The high cream content stabilizes the eggs, ensuring the center stays velvety rather than becoming rubbery or spongy.
Temperature Control: Using thawed but cool pastry ensures the butter doesn't melt before it hits the oven, which is what gives the shells their height.
Aromatic Bridge: A pinch of nutmeg doesn't make it taste like a dessert, it just brings out the nuttiness of the Gruyère cheese.
| Feature | Fast Puff Pastry | Classic Shortcrust |
|---|---|---|
| Prep Time | 10 mins | 45 mins |
| Texture | Airy and flaky | Dense and crumbly |
| Best For | Party appetizers | Full sized dinner quiches |
Component Analysis
| Ingredient | Science Role | Pro Secret |
|---|---|---|
| Heavy Cream | Fat emulsifier | Prevents the egg proteins from tightening too much |
| Gruyère Cheese | Flavor anchor | Grate it yourself for a smoother melt |
| Large Eggs | Structural binder | Room temp eggs blend into the cream faster |
| Puff Pastry | Moisture barrier | Brush with butter for a deeper gold color |
The Building Blocks
For this recipe, quality ingredients make the difference between a bland bite and a celebration. I always go for a full fat cream because according to the USDA FoodData, the lipid content is what provides that characteristic mouthfeel.
- 2 sheets (17.25 oz) frozen puff pastry, thawed Why this? Fast, flaky, and consistent results
- 1 tbsp melted butter Why this? Adds a golden glow to the crust
- 6 large eggs Why this? Provides the necessary lift and set
- 1.5 cups heavy cream Why this? Creates a silky, non rubbery texture
- 0.5 tsp salt
- 0.25 tsp black pepper
- 0.125 tsp ground nutmeg Why this? Cuts through the richness of the cheese
- 8 oz cooked crisp and crumbled bacon Why this? Smoky saltiness to balance the cream
- 1.5 cups shredded Gruyère cheese Why this? Melts beautifully with a nutty profile
- 2 thinly sliced scallions Why this? Adds a fresh, sharp contrast
Substitute Options:
| Original Ingredient | Substitute | Why It Works |
|---|---|---|
| Gruyère | Swiss or Emmental | Similar melting point. Note: Slightly milder flavor |
| Bacon | Smoked Tofu or Mushrooms | Maintains the savory depth. Note: Sauté well to remove moisture |
| Heavy Cream | Half and half | Lighter feel. Note: Less stable, may be slightly softer |
Essential Kitchen Tools
You don't need a professional kitchen to pull this off, but a few specific tools make it much faster. I use a standard mini muffin tin, which is the gold standard for this size. If you have a circular biscuit cutter, that's great, but a drinking glass works just as well for stamping out your dough.
A whisk is non negotiable here. You want the custard to be completely smooth with no streaks of egg white. For the filling, a small spoon or a piping bag helps you distribute the bacon and cheese without making a mess of the pastry edges.
From Prep to Plate
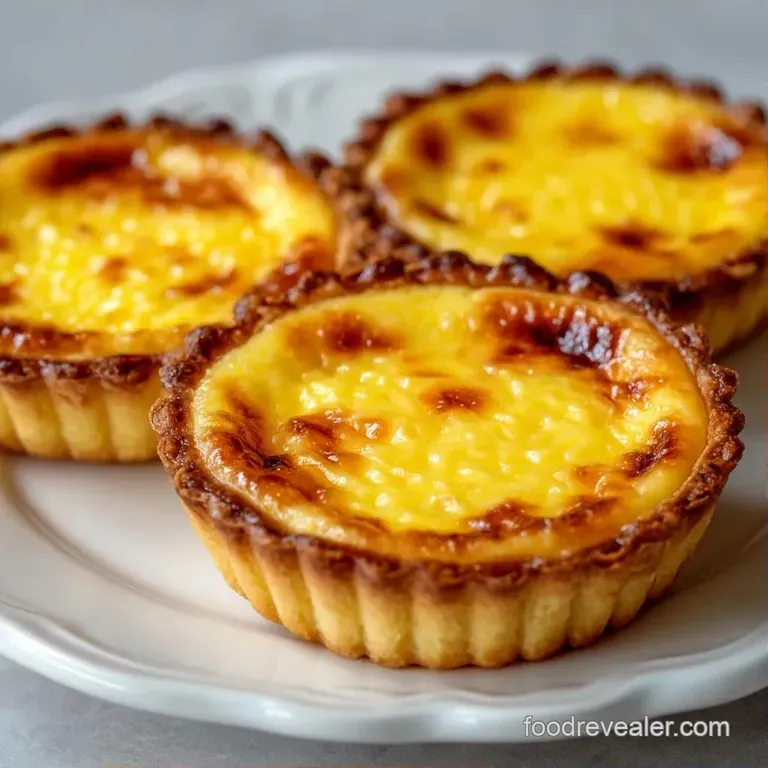
Let's get into the rhythm of the build. We'll move from the crust to the filling, then the final bake.
Phase 1: Crafting the Shells
- Roll out the thawed puff pastry on a lightly floured surface. Use a circular cutter to stamp out rounds slightly larger than the diameter of the mini muffin holes.
- Press the pastry rounds into the mini muffin tins, ensuring the edges are flush against the sides. Note: Don't overstretch the dough or it will shrink.
- Prick the bottoms with a fork and brush with melted butter. This prevents bubbling and adds color.
Phase 2: Assembling the Filling
- In a large bowl, whisk together the eggs, heavy cream, salt, pepper, and nutmeg until the mixture is smooth and pale yellow.
- Divide the crumbled bacon, shredded Gruyère, and sliced scallions evenly across the bottom of each pastry shell. Note: Keep the fillings away from the very edge to avoid sticking.
- Carefully pour the custard mixture over the fillings, filling each shell to just below the rim. Avoid filling to the top to prevent overflow.
Phase 3: The Golden Bake
- Bake at 375°F (190°C) until the pastry is a deep mahogany gold and the centers are set but still have a slight jiggle. This usually takes about 25 minutes.
- Allow the quiches to rest in the tin for 5 minutes before lifting them out with a small spatula. Note: Resting lets the custard firm up so they don't break.
Chef's Note: If you're serving these as part of a larger brunch spread, try pairing them with a side of my Tzatziki Sauce recipe for a refreshing, cool contrast to the rich eggs and cheese.
Common Mistakes & Troubleshooting
Most people struggle with the "soggy bottom" or the "custard volcano." Both are easy to fix if you know what's happening.
| Issue | Solution |
|---|---|
| Why Your Custard Overflowed | This usually happens if you fill the shells to the brim. Puff pastry rises, but it also pushes the liquid upward. Leave about a 1/8 inch gap. |
| Why Your Crusts Are Soft | If the oven isn't hot enough, the butter in the pastry leaks out instead of steaming. Ensure your oven is fully preheated to 375°F (190°C). |
| Why the Fillings Sunk | If you use frozen vegetables or wet cheese, the water releases during baking. Sauté any veggies first and pat your bacon dry. |
Quick Success Checklist:
- ✓ Pastry is thawed but still cool to the touch
- ✓ Bottoms are pricked with a fork
- ✓ Filling stops just below the rim
- ✓ Oven is fully preheated to 375°F (190°C)
- ✓ Rested for 5 minutes before removal
Adjusting Your Batch Size
When making a Mini Quiche for Events, you might need to scale this up or down.
Scaling Down (Half Batch): Use one sheet of pastry and 3 eggs. Reduce the baking time by about 3-5 minutes, as smaller batches sometimes cook faster due to better air circulation in the oven.
Scaling Up (Double Batch): Work in batches. Don't try to crowd two muffin tins on one rack if it blocks the airflow. For the custard, increase salt and pepper to 1.5x instead of 2x to avoid over seasoning.
If you're using two racks, rotate them halfway through the 25 minutes to ensure an even mahogany gold color.
Decision Shortcut:
- If you want a lighter version: Use 1 cup cream and 0.5 cup Greek yogurt.
- If you want it more savory: Add a teaspoon of Dijon mustard to the custard.
- If you're short on time: Use pre made mini phyllo shells instead of puff pastry.
Dispelling Kitchen Myths
The Blind Bake Myth: Many recipes say you must blind bake puff pastry for mini quiches. This is a waste of time. Because the volume of filling is so small, the pastry cooks through perfectly in the same time as the custard.
The low-fat Myth: Some try to use skim milk or low-fat cream. This is a mistake. The fat is what prevents the eggs from bonding too tightly, which is how you get that velvety texture instead of a hard, rubbery egg bite.
Storage Guidelines
Fridge: Store your Mini Quiche in an airtight container for up to 4 days.
Freezer: These are fantastic for meal prep. Freeze them on a baking sheet for 1 hour before transferring to a bag. They'll keep for 2 months.
Reheating: Avoid the microwave if you can, as it makes the pastry chewy. Use an oven or air fryer at 350°F (175°C) for 5-8 minutes until the edges shatter again.
Zero Waste Tip: Don't throw away your puff pastry scraps! Twist them into little ropes, sprinkle with extra Gruyère and paprika, and bake them for 10 minutes as savory cheese straws.
Serving and Enjoyment
Since this is a celebratory dish, presentation is everything. I focus on "color balance" to make the platter look professionally catered.
Start with the golden brown base of the quiche. To add a pop of color, I use three specific accents. First, the green from the scallions is already inside, but I add a few fresh micro greens on top just before serving.
Second, I add a small dot of red, either a tiny slice of cherry pepper or a pomegranate seed, for a sharp visual contrast. Third, a dusting of smoked paprika around the edges of the plate adds a warm, earthy orange tone.
For the drinks, I always suggest creative mimosas. Instead of just orange juice, try a splash of pomegranate or blood orange juice to match the red accents on the plate. This is the best way to present an Easy Mini Quiche for Events.
If you're doing a full brunch, these work beautifully alongside a fresh fruit platter or a light salad. The richness of the Mini Quiche Lorraine filling needs something acidic to balance it out. Whether you're making a Simple Mini Quiche for Events or a complex spread, the key is to let the guests graze.
By focusing on those small color details and the contrast of textures, you turn a simple appetizer into a celebration. Now, just pour the champagne and enjoy your morning!
Recipe FAQs
How to prevent soggy bottoms in the pastry?
Preheat your oven fully to 375°F (190°C). This high heat ensures the butter in the puff pastry steams immediately rather than leaking out into the tin.
Is it true I should fill the pastry shells to the brim for a fuller quiche?
No, this is a common misconception. Fill the shells to just below the rim to leave a 1/8 inch gap, preventing the custard from overflowing as the pastry rises.
How to store leftover mini quiches?
Place them in an airtight container in the refrigerator. They will remain fresh and delicious for up to 4 days.
Can I freeze these for meal prep?
Yes, they freeze exceptionally well. Freeze the quiches on a baking sheet for one hour before transferring them to a bag to prevent sticking; they last up to 2 months.
How to reheat mini quiches without making the pastry chewy?
Use an oven or air fryer at 350°F (175°C). Heat for 5-8 minutes until the edges shatter again and avoid the microwave entirely.
How to tell when the custard is perfectly cooked?
Bake until the pastry is mahogany-gold and the centers have a slight jiggle. Let them rest in the tin for 5 minutes to allow the filling to set completely before lifting.
What is the best side dish to serve with these?
Pair them with a crisp, acidic salad. These rich bites go perfectly with a zesty Italian pasta salad to balance the creaminess of the Gruyère.
Mini Quiche: Silky Gruyère