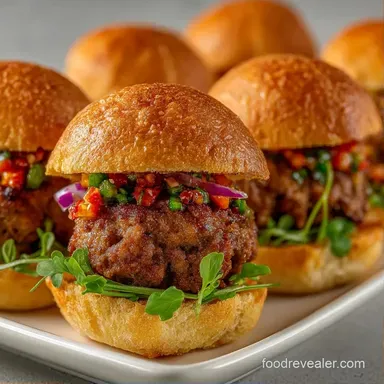
Mini Slider Burger Recipe: Juicy and Baked
- Time: 10 min active + 10 min cook
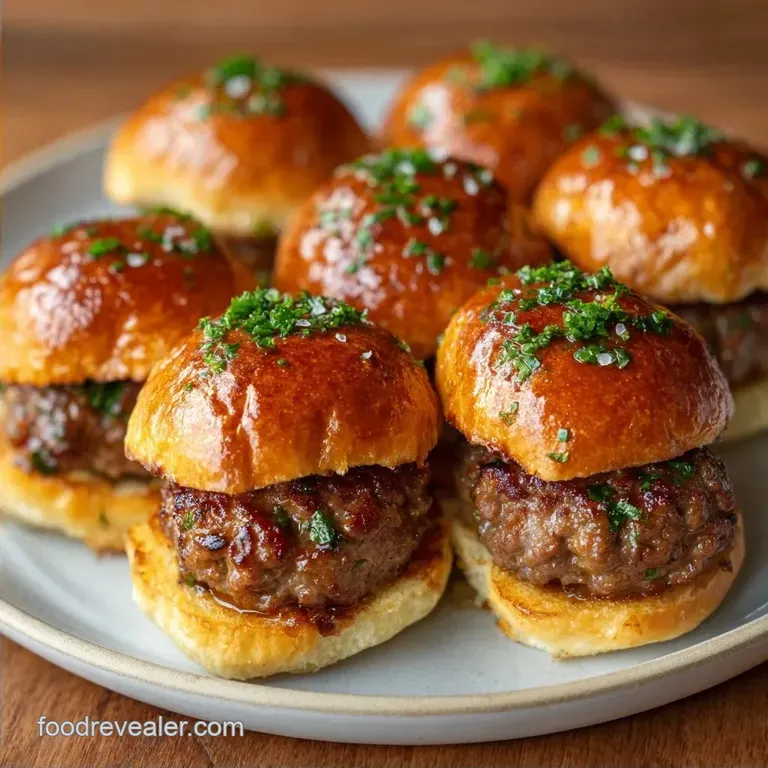
- Flavor/Texture Hook: Buttery, toasted tops with melted, gooey cheddar
- Perfect for: Game day snacks or easy family dinners
The first thing that hits you is the smell. As the garlic butter starts to brown in the oven, it mixes with the scent of sizzling beef and melting cheese, filling the entire house with a heavy, comforting aroma. It's the kind of smell that makes everyone in the house suddenly very interested in what's for dinner.
I used to spend an hour shaping tiny patties, only to have half of them shrink or stick to the grill. It was a mess and I spent the whole party flipping meat instead of talking to my friends. Then I tried the sheet pan method, and it changed everything.
You can expect a hearty, satisfying bite where the sweet rolls balance out the salty beef. This Mini Slider Burger Recipe is all about efficiency and comfort. It's a one pan wonder that satisfies the soul without the cleanup nightmare.
Mini Slider Burger Recipe
The Meat Block: Pressing the beef into one large rectangle prevents the edges from drying out, which happens fast with tiny individual patties.
The Sugar Factor: Using sweet rolls creates a slight caramelization on the bottom, contrasting the savory beef.
Butter Barrier: The garlic butter glaze acts as a shield, keeping the tops soft while they brown.
| Method | Prep Time | Texture | Best For |
|---|---|---|---|
| Individual Patties | 20 mins | Charred/Crusty | Single servings |
| Slab Method | 10 mins | Juicy/Uniform | Large groups |
| Smash Style | 15 mins | Crispy edges | over High heat fans |
The beauty of this approach is how the flavors meld. Since they bake together, the juices from the beef soak slightly into the bread, making each slider feel like a cohesive meal rather than just meat on a bun.
What Each Ingredient Does
| Ingredient | What It Does | Best Swap |
|---|---|---|
| Ground Beef | Provides the hearty base | Ground Turkey (leaner, milder) |
| Hawaiian Rolls | Adds sweetness and soft texture | Brioche Sliders (richer, less sweet) |
| Cheddar Cheese | Adds salt and creamy melt | Pepper Jack (for a spicy kick) |
The Essentials
- 1 lb ground beef Why this? 80/20 lean to fat ratio keeps the meat juicy
- 1/2 tsp salt
- 1/2 tsp black pepper
- 1/2 tsp garlic powder
- 1/2 tsp onion powder
- 1 pack (12 count) Hawaiian sweet rolls Why this? Their sweetness balances the salty cheese
- 10 slices cheddar cheese
- 10 slices dill pickle chips
- 3 tbsp unsalted butter, melted Why this? Carries the garlic flavor into the bread
- 1 clove garlic, minced
- 1 tbsp fresh parsley, chopped
If you find yourself without Hawaiian rolls, you can use slider buns from a bakery. Just note that they aren't as sweet, so you might want to add a pinch of sugar to your butter glaze to mimic that classic taste.
Tools You'll Need
You don't need a fancy kitchen for this. A standard baking sheet and a piece of parchment paper are the most important parts. I highly recommend parchment because it stops the bottom buns from sticking and makes cleanup take about ten seconds.
A serrated knife is a must. If you use a smooth blade, you'll squash the rolls while trying to slice them in half. You want a clean, horizontal cut across the whole slab.
How to Make It
- Preheat your oven to 350°F (175°C) and line your baking sheet with parchment paper.
- In a large bowl, combine the ground beef with salt, pepper, garlic powder, and onion powder. Mix gently with your hands until just combinedNote: Overmixing makes the meat tough.
- Using a serrated knife, slice the entire slab of Hawaiian rolls in half horizontally without fully separating the individual rolls.
- Place the bottom half of the roll slab on the prepared baking sheet.
- Press the seasoned beef mixture evenly across the bottom buns, flattening it into a uniform layer that reaches the edges of the rolls.
- Layer the cheddar cheese slices over the beef.
- Place dill pickle chips on top of the cheese.
- Set the top half of the rolls onto the pickles.
- Mix the melted butter with minced garlic and chopped parsley, then brush it generously over the tops.
- Bake for 10 minutes until the beef is browned and the cheese is bubbling.
Chef Note: If you like your cheese extra browned, you can pop the broiler on for the last 60 seconds. Just watch it closely, as the sugar in the rolls can burn in an instant.
Solving Common Issues

Sometimes things go sideways in the kitchen. Usually, it comes down to moisture or heat distribution. If your Mini Slider Burger Recipe results in a soggy bottom, it's often because the beef released too much liquid or the buns weren't toasted enough.
Soggy Bottoms
This usually happens if the beef is too lean or if the rolls are too thin. The juices pool at the bottom. You can prevent this by lightly toasting the bottom buns in the oven for 3 minutes before adding the meat.
Meat Shrinkage
If the beef pulls away from the edges, you likely didn't press it firmly enough into the corners. Make sure the raw meat layer is slightly larger than the buns, as it will shrink slightly during the 10 minutes of cooking.
Burnt Tops
Hawaiian rolls have a high sugar content. If your oven runs hot, the tops might brown before the beef is cooked. If this happens, cover the tray loosely with foil for the first 5 minutes.
| Problem | Root Cause | Solution |
|---|---|---|
| Buns are hard | Overbaked | Reduce bake time by 2 mins |
| Bland taste | Under seasoned | Add 1/4 tsp more salt to beef |
| Cheese not melted | Oven too cool | Check temp with an oven thermometer |
Different Ways to Eat
You can easily pivot this Mini Slider Burger Recipe to fit different diets. For those avoiding gluten, you can use large lettuce leaves or gluten-free slider buns, though you'll have to bake the meat separately since lettuce can't handle 350°F.
For a low carb or keto version, skip the rolls entirely. I've found that using thick slices of halloumi cheese as the "bun" works great. According to USDA FoodData, halloumi provides a high protein content and holds its shape when heated, making it a great substitute.
If you want a BBQ twist, brush the beef with a smoky sauce before adding the cheese. This pairs really well with red onions instead of pickles. For a more complete meal, these go great with a Classic Coleslaw to add a vinegary crunch that cuts through the rich beef.
Adjusting the Batch Size
If you're just cooking for two, you can halve the recipe. Use a smaller toaster oven tray and reduce the bake time by about 20%. Since you can't easily halve a pack of rolls, just use 6 and save the rest for another day.
When scaling up for a party, don't try to put 3 lbs of meat on one tray. The middle won't cook through before the edges burn. Work in batches of 10-12 sliders per tray. Only increase the salt and spices by 1.5x for double batches, as too much seasoning can become overwhelming in large quantities.
Common Beef Myths
One thing I hear a lot is that you need to sear the meat first to "lock in the juices." This isn't actually true. Searing adds flavor, but it doesn't create a waterproof seal. In this recipe, the slab method keeps the juices trapped naturally.
Another myth is that the fat content doesn't matter as long as it's beef. If you use 95% lean beef, your sliders will be dry and crumbly. The fat is what carries the flavor of the garlic and onion powders.
Keeping Them Fresh
These sliders stay good in the fridge for about 3 days. Keep them in an airtight container to stop the buns from drying out. I find that they actually taste pretty good cold, but warming them up is better.
For the freezer, wrap individual sliders in foil and place them in a freezer bag for up to 2 months. To reheat, put them back in the oven at 300°F (150°C) for about 10 minutes. This prevents the bread from getting too hard while the center thaws.
To avoid waste, use any leftover ground beef seasoning for a quick taco night. If you have extra garlic butter, brush it on some frozen asparagus or broccoli before roasting. It's a great way to use every bit of flavor.
Perfect Side Pairings
To balance out the richness of this Mini Slider Burger Recipe, you need something bright and acidic. A crisp salad or a vinegar based slaw is the way to go. The acidity cleanses the palate between bites of cheesy beef.
If you're leaning into the comfort food vibe, a side of sweet potato fries or oven baked wedges works well. If you're hosting a larger spread, consider adding some Cheeseburger Sliders as part of a variety platter.
For a drink, a cold ginger ale or a crisp lemonade cuts through the fat of the cheddar. It keeps the meal feeling light despite the hearty nature of the burgers. Trust me, the contrast is what makes the whole meal work.
Recipe FAQs
What is the best seasoning for slider burgers?
A blend of salt, pepper, garlic powder, and onion powder. These basics enhance the beef's natural flavor without overpowering the sweet Hawaiian rolls.
What comes on a small slider burger?
Cheddar cheese and dill pickle chips. These provide a sharp, tangy contrast to the savory beef and buttery buns.
Is a slider just a mini burger?
Yes, essentially. While they share the same components, sliders are designed as bite sized versions typically served on sweeter rolls.
Is it true that you must flip each slider patty individually?
No, this is a common misconception. Using the slab method allows you to cook the meat as one piece for juicier results. If you enjoyed this one-pan efficiency, see how a similar approach works in our fudgy brownies.
How to keep the meat from overcooking in the oven?
Bake at 350°F (175°C) for exactly 10 minutes. Adhering to this timing prevents the small patties from drying out while ensuring they are cooked through.
How to get the garlic butter flavor to penetrate the buns?
Brush melted butter mixed with minced garlic and parsley over the tops. This creates a savory glaze that browns beautifully and stays moist during baking.
How to ensure the meat doesn't fall off the buns?
Press the seasoned beef mixture evenly across the bottom buns. Flattening it into a uniform layer that reaches the edges locks the meat in place as it cooks.
Mini Slider Burger Recipe