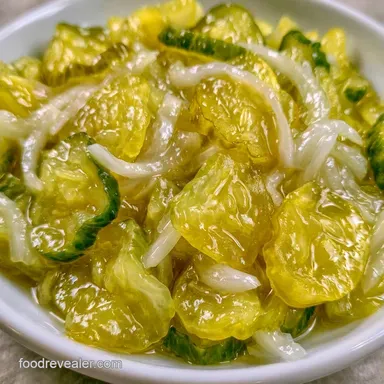
Snappy Canned Bread and Butter Pickle Chips
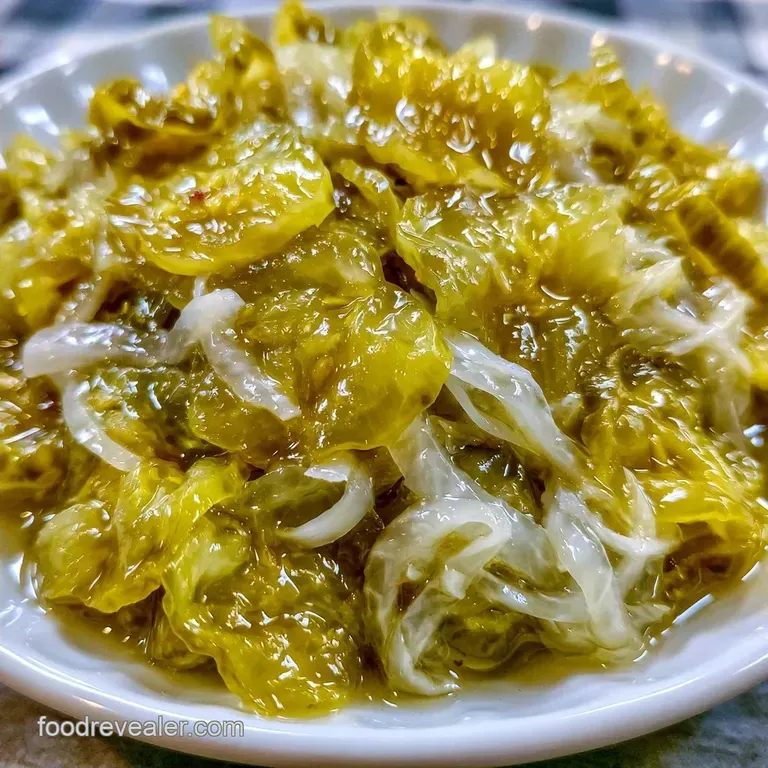
- Time: 210 min active + 10 min cooking
- Flavor/Texture Hook: Tangy, sweet, and snappy
- Perfect for: Pantry stocking, burger toppings, and deli style sandwiches
Forget the idea that you need a fancy "pickling kit" or specialized additives to get a crunch that lasts. Most people think the brine does all the heavy lifting, but that's a myth. If you just dump cucumbers into vinegar, you'll likely end up with limp, sad slices.
The real work happens before the heat even touches the pot. I remember a batch I made years ago where I skipped the salting phase because I was in a rush. I opened those jars a month later and the pickles had the texture of wet cardboard. It was a total waste of five pounds of produce.
Now, I never skip the soak. This method for Canned Bread and Butter Pickle Chips ensures that every bite has a distinct snap. You're going to get that classic deli flavor, but a brightness that only comes from doing the prep right.
The Trick Behind the Texture
The Salt Soak: Salt draws out the internal water from the cucumber cells. This makes the slices denser and prevents them from absorbing too much brine, which keeps them crisp.
Acidity Control: Using vinegar with 5% acidity prevents spoilage. It creates an environment where bad bacteria can't grow, making them safe for the pantry.
Recipe Specifications
Here are the recipe specifications. Since this is a bulk batch, ensure you have plenty of jars ready before you begin.
| Metric | Detail |
|---|---|
| Prep Time | 210 minutes |
| Cook Time | 10 minutes |
| Total Time | 220 minutes |
| Yield | 80 servings |
Since you'll be working with a large volume, a non-reactive bowl is essential. Stainless steel or glass are the ideal choices.
Gathering Your Essentials
You'll need produce that can handle the brine. Regular slicing cucumbers are too watery. Look for "pickling" varieties, which have thicker skins and smaller seeds.
For the Vegetables: 5 lbs pickling cucumbers, sliced into 1/4 inch chips Why this? Thicker skins maintain a better snap 2 cups white onion, thinly sliced Why this? Provides a sharp, savory contrast to the sugar 1/2 cup pickling salt
Why this? Pure salt without additives prevents cloudy brine 2 cups ice water Why this? Keeps cucumbers cold and firm during prep
For the Brine: 4 cups white distilled vinegar (5% acidity) Why this? Standard acidity for safe canning 2 cups water Why this? Balances the sharp punch of the vinegar 2 cups granulated sugar Why this? Creates the
Signature "bread and butter" sweetness 1 tbsp yellow mustard seeds Why this? Adds a subtle earthy depth 1 tsp celery seed Why this? Provides a classic savory aroma 1/2 tsp ground turmeric Why this? Gives that iconic golden
Yellow hue
Substitution Options:
| Original Ingredient | Substitute | Why It Works |
|---|---|---|
| Pickling Salt | Kosher Salt | Coarser grain works, but check for additives. Note: May slightly alter saltiness |
| White Distilled Vinegar | Apple Cider Vinegar | Adds a fruitier, milder tang. Note: Changes the color to a darker gold |
| Granulated Sugar | Honey | Adds a floral sweetness. Note: Makes the brine thicker and slightly cloudier |
Essential Kitchen Gear
Avoid using aluminum pots, as the vinegar can react with the metal and leave your pickles with a metallic aftertaste.
- Large glass or stainless steel bowl (for the salt soak)
- Stainless steel stockpot
- Colander
- Sterilized canning jars with lids and bands
- Plastic bubble remover or a clean plastic knife
- Water bath canner
Pro Tip: A clean plastic chopstick is a great substitute for a professional bubble remover when releasing trapped air.
Step-by-step Instructions
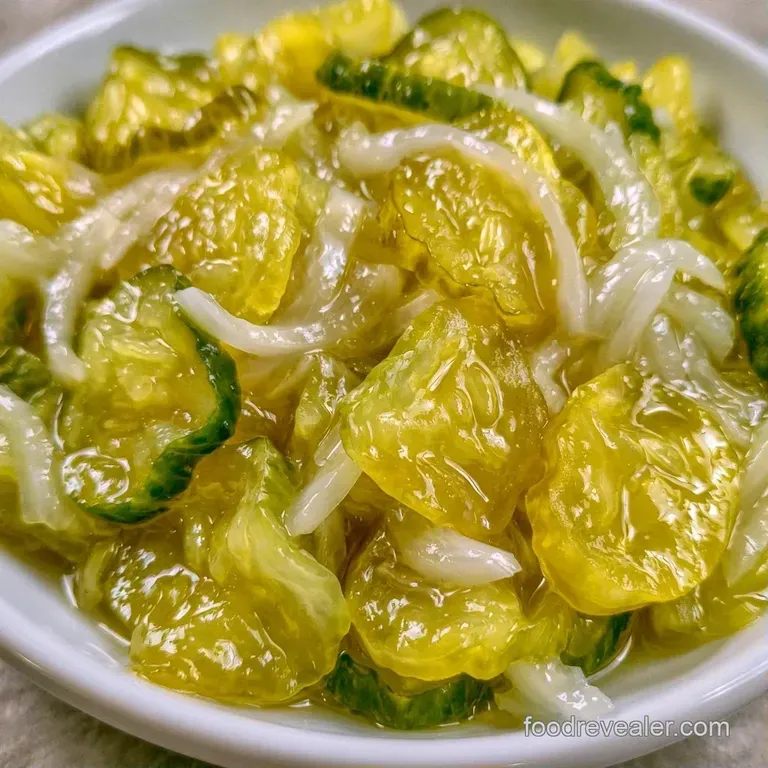
- Combine sliced cucumbers and onions in a large non reactive bowl.
- Sprinkle the pickling salt evenly over the vegetables and toss well.
- Let the mixture sit for 3 hours until liquid pools at the bottom of the bowl. Note: This is where the crunch is created.
- Rinse the vegetables thoroughly under cold running water to remove excess salt and drain in a colander.
- In a stainless steel pot, combine the white vinegar, water, sugar, mustard seeds, celery seed, and turmeric.
- Bring the mixture to a simmer over medium high heat, stirring occasionally until the sugar is completely dissolved.
- Remove from heat and let it sit for 2 minutes to settle.
- Sterilize canning jars in simmering water.
- Pack the drained cucumber and onion mixture tightly into the hot jars, leaving 1/2 inch of headspace.
- Pour the hot brine over the vegetables, maintaining that 1/2 inch headspace.
- Run a clean plastic utensil or bubble remover around the inside of the jar to release trapped air.
- Wipe the rims clean, center the lids, and screw on the bands until fingertip tight.
- Process the jars in a water bath canner according to safety guidelines.
Troubleshooting Guide
Preventing Mushy Pickles
If your slices feel soft, check your cucumber type. Slicing cucumbers have too much water. Also, ensure the salt soak lasted the full 3 hours. Cutting this time short leaves too much moisture inside the vegetable, which weakens the cell walls during the canning process.
Fixing Cloudy Brine
Cloudiness usually comes from using table salt with anti caking agents. These additives react with the vinegar. Use pure pickling or Kosher salt next time. If the brine is already cloudy, it's still safe to eat, but it won't look as crisp in the jar.
Solving Seal Failures
If a lid doesn't pop, you likely had a bit of food residue on the rim. Wipe the rims with a damp cloth before applying the lid. You can either re process the jar or just put it in the fridge and eat it first.
Flavor Variations
These Canned Bread and Butter Pickle Chips are great as they are, but you can tweak them. For a kick of heat, add a sliced habanero or a teaspoon of red pepper flakes to the brine. If you want more depth, a splash of soy sauce adds a hit of umami that pairs well with Asian fusion sliders.
If you're serving these as part of a spread, they go great with a hearty side. I often pair these with Sourdough French Bread for a rustic sandwich board.
Decision Shortcut: Extra heat? → add 1 sliced jalapeño per jar More earthy? → increase turmeric to 1 tsp Less sweet? → reduce sugar to 1.5 cups
Storage Guidelines
Processed jars can stay in a cool, dark pantry for up to a year. Once you open a jar, move it to the fridge. They'll stay crisp for several months in the refrigerator, though the flavor is peak in the first 8 weeks.
To avoid waste, don't toss the leftover brine. It's essentially a seasoned vinegar. Use it as a marinade for grilled chicken or drizzle it over a potato salad for extra acidity. For a strange but satisfying contrast on a brunch platter, serve these salty chips alongside something sweet like Traditional Banana Bread.
Perfect Complements
These pickles rely on contrast, using sweetness to cut through rich, fatty foods.
The Classic Deli Sandwich Stack these chips on a roast beef or pastrami sandwich. The sharp acidity slices through the dense meat and mustard, cleansing your palate between every bite.
Savory Charcuterie Boards Pair a heap of Butter Pickle Chips with a sharp cheddar or creamy brie. The vibrant yellow hue and zesty flavor make the platter pop both visually and taste wise.
Burger Toppings Skip the generic fast food slices. These homemade chips provide a crunch that holds its own against melted Swiss and a charred beef patty.
Fast vs. Classic Method
| Feature | Quick Fridge Pickles | Canned Bread and Butter |
|---|---|---|
| Shelf Life | 3-4 weeks (Fridge) | 1 year (Pantry) |
| Texture | Very crisp, raw | Balanced, cured snap |
| Process | No heating | Water bath processed |
You're all set to begin. Just remember: be patient with the salt and use the right cucumbers for Canned Bread and Butter Pickle Chips that put store-bought brands to shame.
Recipe FAQs
Can you can bread and butter pickles?
Yes, they are perfectly suited for water bath canning. This process makes the jars shelf stable in a cool, dark pantry for up to a year.
What are the steps to pickle cucumbers with bread and butter?
Combine sliced cucumbers and onions in a non-reactive bowl. Toss with pickling salt, let sit for 3 hours, rinse, and pack into sterilized jars with a simmering brine of vinegar, sugar, and spices.
Is it true bread and butter pickles are fermented?
That's a myth. These pickles rely on a vinegar based brine for preservation rather than the natural lacto fermentation process used for deli style pickles.
Do these pickle chips count as healthy?
They are a low-calorie condiment. While they contain vegetables, the added sugar and salt mean they are best enjoyed in moderation as a topping for a BLT wrap.
How to make sweet pickles without canning?
Pack the prepared vegetables and hot brine into clean jars. Store them immediately in the refrigerator to enjoy a quicker "refrigerator pickle" version.
Why let cucumbers sit in salt for three hours?
Drawing out excess cellular water creates the signature crunch. Skipping this step often results in mushy pickles once the hot brine is added.
Canned Bread And Butter Pickle Chips