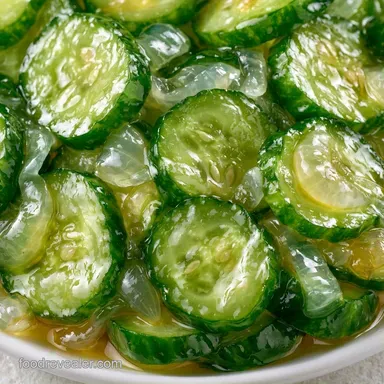
Grandmas Canned Bread and Butter Pickles: Crunchy
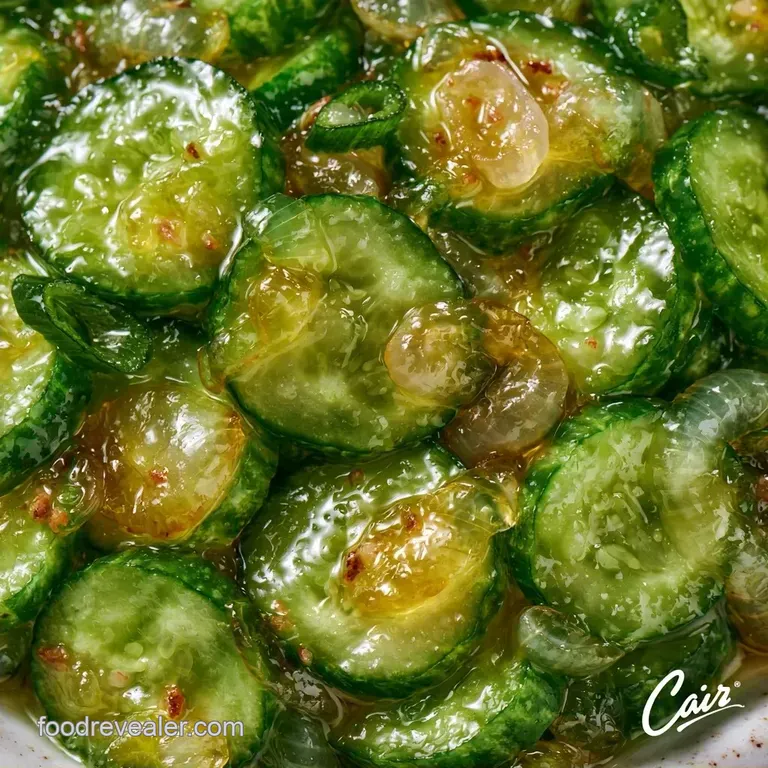
- Time: 180 min active + 10 min cooking
- Flavor/Texture Hook: Tangy sweet with a loud, satisfying crunch
- Perfect for: Burger night, charcuterie boards, or winter pantry stocking
Grandmas Canned Bread and Butter Pickles Guide
That satisfying pop when opening a jar of homemade pickles is easily the most rewarding sound in the kitchen. Once, in a hurry, I decided to skip the ice bath. I ended up with cucumbers that were limp and soggy they tasted alright, but the texture was like wet cardboard. It was a complete disappointment.
Eventually, I gave up the shortcuts and returned to my grandmother's traditional approach. These pickles rely on more than just salt and sugar; they require a patient soak. Mastering the timing ensures that signature, crisp snap that elevates any burger.
The final result is a perfect balance of sweet and vinegary notes, with a subtle earthiness from the turmeric. This recipe yields a generous amount, so ensure your sterilized jars are prepped and ready.
Why These Pickles Stay Crunchy
Osmotic Pressure: Salt draws water out of the cucumber cells, which tightens the skin and prevents them from collapsing when they hit the hot brine.
Cold Shock: Keeping the veggies in ice water for three hours locks in the structure, so they don't turn into mush during the 10 minutes of simmering.
Timing and Yield
This recipe is designed for a full canning session. You won't be spending much time at the stove, but the prep is where the magic happens.
- Prep time: 180 minutes
- Cook time: 10 minutes
- Total time: 3 hours 10 mins
- Yield: 8 pint jars
Ingredient Guide
The balance of sugar and acidity is what defines a "bread and butter" style. If you lean too far one way, they either taste like candy or straight vinegar.
For the produce, Kirbey cucumbers are the standard. They have thinner skins and a firmer core than English cucumbers. If you can't find them, any pickling variety works, but avoid the long, waxed ones from the supermarket, as the brine can't penetrate the wax.
Apple cider vinegar provides a softer, fruitier tang than white distilled vinegar. The turmeric is what gives the pickles that classic golden glow. Without it, they look a bit pale and unappetizing.
Essential Tool List
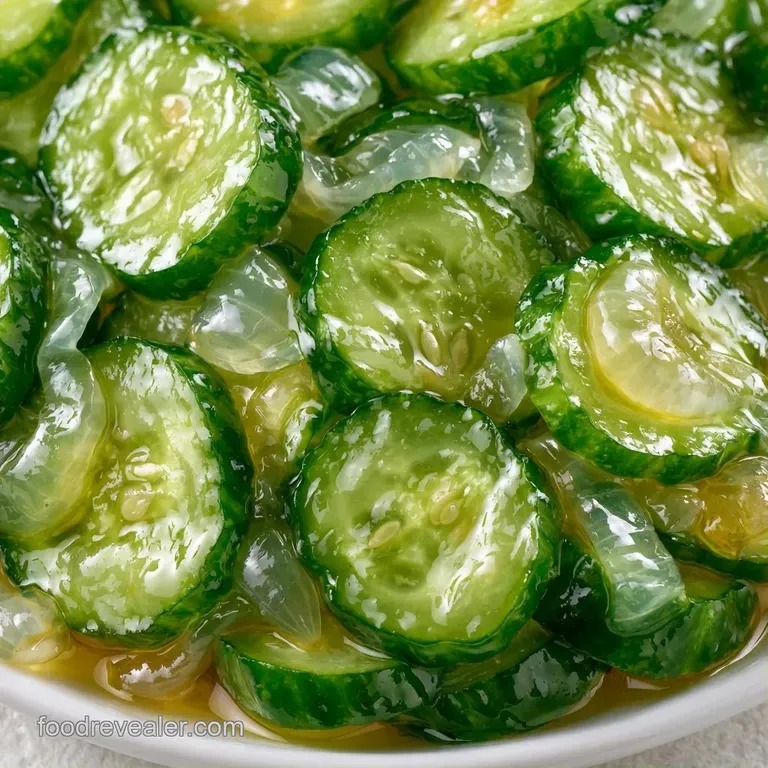
You don't need a professional setup to do this, but a few specific items make it easier.
- Large non reactive bowl: Use stainless steel or glass. Aluminum can react with the vinegar and leave a metallic taste.
- Wide bottomed pot: Something large enough to hold 5 lbs of cucumbers without overcrowding them.
- Slotted spoon: This is a lifesaver for packing the jars without splashing brine everywhere.
- Canning jars: 8 pint sized Mason jars with lids and bands.
- Colander: For a thorough rinse after the salt soak.
Step-by-step Canning Process
- Slice the vegetables. Cut the cucumbers into uniform 1/4 inch rounds and thinly slice the onions. Note: Uniform slices ensure every piece pickles at the same rate.
- Start the ice soak. Combine the sliced cucumbers and onions in a large bowl with ice, cold water, and 1/2 cup of pickling salt.
- Wait 3 hours. Let the mixture sit until the cucumbers feel firm to the touch.
- Rinse and drain. Run the vegetables under cold water for a few minutes to wash away the excess salt, then let them drain in a colander.
- Mix the brine. In a large pot, stir together the apple cider vinegar, sugar, 2 tbsp pickling salt, mustard seeds, celery seeds, and turmeric.
- Boil the liquid. Heat over medium high, stirring constantly until the sugar and salt dissolve completely.
- Simmer the produce. Stir in the drained cucumbers and onions. Bring the pot back to a simmer for 2–3 minutes. Note: Do not over boil or the crunch will vanish.
- Pack the jars. Use a slotted spoon to pack the mixture tightly into sterilized pint jars, then pour the hot brine over the top.
Solving Common Texture Issues
If your brine looks cloudy, it's usually because of the salt. Table salt often contains anti caking agents that don't dissolve cleanly, leading to a murky look. Pure pickling salt keeps everything crystal clear.
Mushy pickles usually happen for two reasons: skipping the ice soak or boiling the vegetables too long. The goal is to heat them through, not cook them into a stew. If you're using a very over high heat burner, keep a close eye on the pot.
Another issue is a seal that won't hold. This often happens if there's a bit of food debris on the rim of the jar. Always wipe the rims with a clean, damp cloth before putting the lid on.
| Problem | Root Cause | Solution |
|---|---|---|
| Cloudy Brine | Used table salt | Use pure pickling or canning salt |
| Soft Texture | Over boiled vegetables | Simmer for only 2-3 minutes |
| Seal Failure | Dirty jar rims | Wipe rims with vinegar before sealing |
| Too Salty | Insufficient rinsing | Rinse longer under cold running water |
Serving Suggestions
These pickles are a staple for a reason. They cut through the richness of fatty meats and creamy cheeses. I love serving them on a big snack board with some sharp cheddar and Butter Sourdough for 4 recipe for a weirdly satisfying sweet and salty combo.
For a more traditional meal, pile them high on a pulled pork sandwich or serve them alongside a fried chicken platter. They also make a great addition to a potato salad, providing a sharp contrast to the mayo.
Storage and Waste Tips
Stored in a cool, dark place, these processed and sealed jars stay shelf stable for up to a year. Keep them refrigerated once the seal is broken. They remain crisp for several months, though the intensity of the flavor mellows over time.
Save any leftover brine from the pot rather than pouring it down the drain. It's perfect as a fast marinade for grilled chicken or a dressing for a cold cucumber salad. As for the onion scraps from slicing, freeze them to add to your future homemade stocks.
Customizing Your Batch
Feel free to customize this recipe based on your taste preferences or whatever ingredients you have available in your pantry.
| Original Ingredient | Substitute | Why It Works |
|---|---|---|
| Apple Cider Vinegar | White Distilled Vinegar | Provides a sharper, cleaner tang. Note: Lacks the fruitiness of cider vinegar |
| Granulated Sugar | Honey | Offers a floral sweetness. Note: May result in a slightly thicker brine |
| Celery Seeds | Fennel Seeds | Introduces a light anise note. Note: Diverges from the traditional flavor |
- For a spicy kick
- Stir 1 tsp of red pepper flakes into your brine.
- For a deeper flavor
- Toss a cinnamon stick or a pinch of ground cloves into the boil.
- For a smaller batch
- Halve all measurements and use a smaller pot, but maintain the 3 hour soak time.
Here is a brief comparison between this traditional canning method and a "quick pickle" refrigerator version.
| Feature | Classic Canned | Quick Fridge |
|---|---|---|
| Shelf Life | 1 Year (Canned) | 3-4 Weeks (Refrigerated) |
| Texture | Dense, Heavy Snap | Lighter, Fresh Crunch |
| Effort | High (Soak + Boil) | Low (Pour and Set) |
Scaling Your Production
When increasing the yield for a large gathering, avoid simply quadrupling the spices. Ingredients like celery seed and turmeric can quickly become overpowering. While you should increase salt and sugar linearly, only bump the spices to 1.5x or 2x the original amount for every double batch.
If you are preparing a half batch, use a small non-reactive bowl for the soak to ensure the cucumbers remain fully submerged in the ice water.
Debunking Pickle Myths
Some believe that store-bought "Pickle Crisp" packets are required to achieve a good snap. This isn't the case; the salted ice soak does the hard work by firming the cell walls naturally.
Another common misconception is that pickles must be boiled for a long time to be safe for canning. In reality, the acidity of the vinegar handles the preservation, and over boiling only degrades the texture.
As noted by Serious Eats, using the correct equipment and adhering to acidity guidelines is what ensures safety during home canning.
Grandmas Canned Bread and Butter Pickles are all about the balance. That interplay of sweet and sour, paired with a bold crunch, makes them a true pantry staple. Once you have a few jars stocked, you'll find yourself pairing them with almost any meal. Happy canning!
Recipe FAQs
How to make bread and butter pickles?
Boil apple cider vinegar, sugar, salt, and spices, then simmer the salted and rinsed cucumbers in the mixture for 2-3 minutes. Pack the vegetables into sterilized pint jars and cover them with hot brine.
Is it true that bread and butter pickles are fermented?
Actually, no. These are pickled using vinegar and heat for preservation rather than a natural fermentation process.
Can I omit the turmeric for a different color?
You can leave out the turmeric if you prefer a paler pickle. The flavor change is minimal, though you will lose that classic golden hue.
What keeps the cucumbers crunchy during canning?
Soak the slices in ice water and pickling salt for 3 hours to firm the cell walls. This osmotic process ensures they stay crisp even after simmering.
Do these jars require refrigeration?
Processed and sealed jars are shelf stable for a year in a cool, dark place. Once opened, keep them chilled to maintain crispness, similar to how you would store toppings for Cheeseburger Sliders.
Grandmas Bread And Butter Pickles